


Understanding Airbrush Compressors: What They Are and How They Work
The Basics of Airbrush Compressors
Airbrush compressors are essential tools for artists, hobbyists, and professionals who require a consistent and controlled airflow for applying paint. These compressors convert electrical energy into compressed air, which flows through the airbrush, allowing for fine detail work and smooth coverage in various applications such as model painting, makeup artistry, and even cake decorating. Unlike standard compressors, airbrush compressors are designed to deliver a lower volume of air at a consistent pressure, thus ensuring precision in every stroke and reducing overspray.
How They Operate
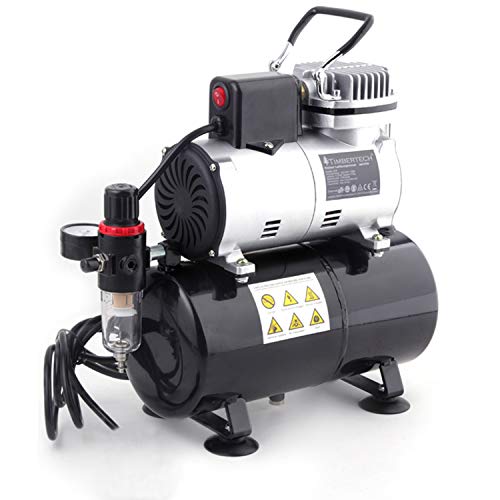
When using an airbrush compressor, air is sucked in and compressed by the motor, typically using a piston or diaphragm as a pumping mechanism. This compressed air is then stored in a tank or delivered directly to the airbrush. The pressure is adjustable, usually ranging between 10-30 psi (pounds per square inch). This adjustability allows artists to tailor the airflow according to their specific needs, whether they are working on detailed line work or broad washes. Understanding this basic operation will help us navigate our selection when it comes to purchasing.
Choosing the Right Airbrush Compressor for Your Needs: Key Features to Consider
Size and Portability
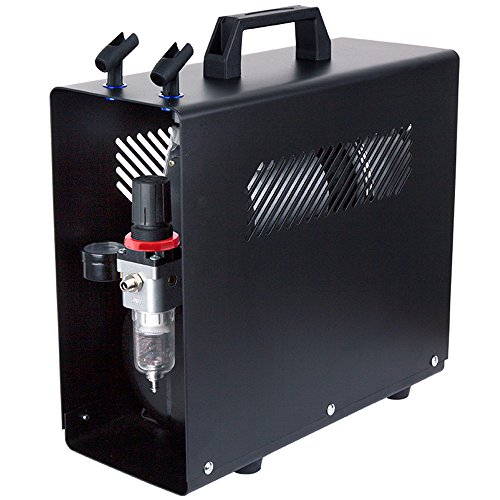
When selecting an airbrush compressor, we must consider its size and portability. If we plan to work in different locations or have limited space, a compact and lightweight compressor is essential. Many models are designed to be easily transported without sacrificing power, which is a great advantage for artists on the go.
Tank vs. No Tank
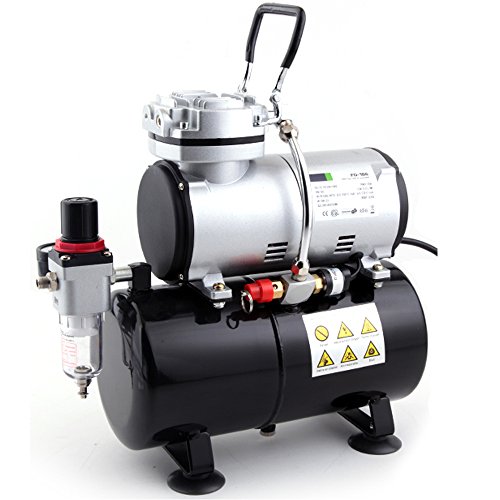
Another key factor is whether to choose a compressor with a tank or a direct drive model without one. A tank can provide a steady flow of air and reduce noise as it enables the motor to rest between its cycles. This feature is particularly beneficial during longer projects where a consistent air supply is crucial. Meanwhile, a direct drive model is typically more compact and lightweight, making it easier to store and transport.
Noise Level and Adjustable Pressure
Noise levels are something we should also keep in mind. If you’re working in a shared space or at home, a quieter compressor will create a more pleasant experience. In terms of adjustable pressure, having a compressor that allows us to fine-tune the airflow can significantly enhance our results, giving us greater control over the painting process.
Accessories and Warranty
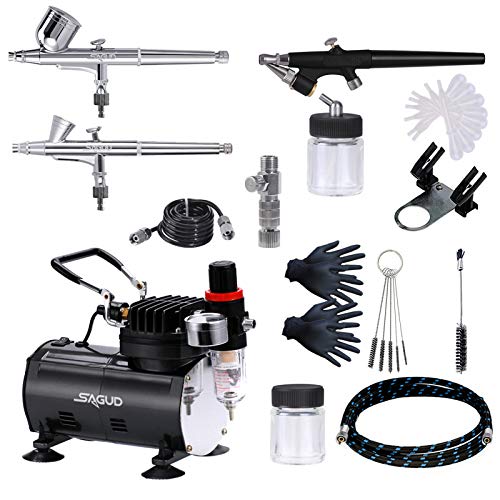
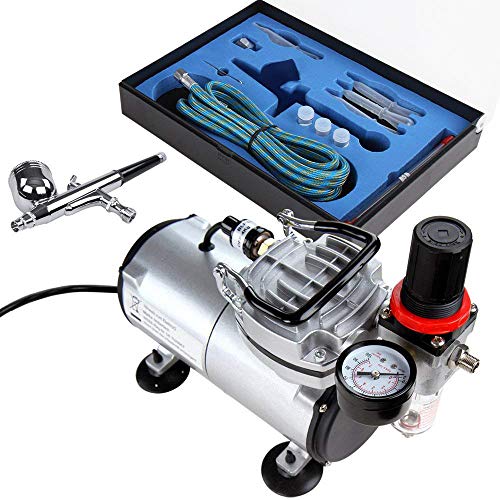
Finally, consider the accessories that come with the compressor, such as hoses, connectors, and airbrushes, which can enhance your overall experience. Additionally, a good warranty can offer peace of mind, so we should look for compressors that come with at least a one-year warranty for reassurance on durability.
Quick Start Guide: Setting Up Your Airbrush Compressor like a Pro
Unboxing and Initial Setup
Once we have selected our airbrush compressor, it’s time to unbox it and set it up. Start by placing the compressor on a stable surface, ensuring it’s at a safe distance from water sources. Follow the included manual to connect the necessary hoses, ensuring that the connections are both secure and leak-proof. Make sure to attach the moisture trap if available, as this will help maintain the quality of our pressurized air.
Adjusting Pressure and Testing
Before starting any project, we can turn the compressor on and adjust the pressure according to our requirements, typically between 15-30 psi based on the type of work we are doing. Test the airflow by activating the airbrush without any paint first, allowing us to get a feel for the pressure settings before mixing paint into the airbrush.
Safety Considerations
Lastly, ensure we are working in a well-ventilated area and using proper safety equipment, such as masks or goggles, especially when working with paints and airbrushing materials. Familiarising ourselves with these initial steps will make our airbrushing experience seamless and enjoyable.
Maintenance Tips for Longevity: Keeping Your Airbrush Compressor in Top Shape
Regular Cleaning
To keep our airbrush compressor functioning optimally, regular cleaning is imperative. After each use, we should empty any water from the tank, if applicable, and flush the airbrush with water or the appropriate cleaning solution after every session. This prevents clogs and ensures that our airbrush operates smoothly for years to come.
Checking for Leaks and Damage
Routine inspection is also vital. We should frequently check all connections and hoses for any signs of wear or damage. A simple visual check can help us identify issues before they become significant problems. Tightening connections will prevent air leaks, maintaining effective performance.
Storage Recommendations
When it comes to storage, we should place the compressor in a dry, cool area away from direct sunlight or extreme temperatures. This prevents damage to internal components. Covering it or placing it back in its original packaging can protect it during long periods of inactivity.
Recommended Airbrush Compressors for Every Budget: Our Top Picks
Budget-Friendly Option
For those looking for an economical choice, we can recommend the XYZ Airbrush Compressor. It offers great performance for beginners, with an adjustable pressure system and a compact design, perfect for occasional use and small projects.
Mid-Range Choice
If we are ready to invest a bit more, the ABC 2-in-1 Airbrush Compressor stands out. It includes a tank, which provides a consistent airflow, and an efficient motor that operates quietly, making it ideal for both beginners and intermediate artists looking for versatility.
Professional Level Selection
For professional artists or those who demand high performance, the DEF Pro Compressor is a top-tier option. It features advanced pressure control, a durable build, and comes with additional accessories that enhance the overall airbrushing experience, ensuring it meets the needs of serious creators.