


Understanding Anti-Slip Strips: What They Are and Why We Need Them
What Are Anti-Slip Strips?
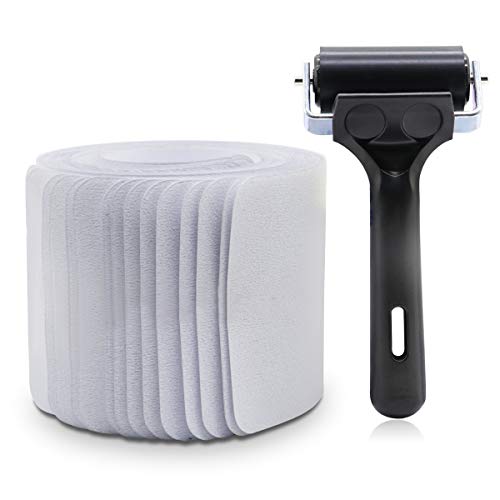
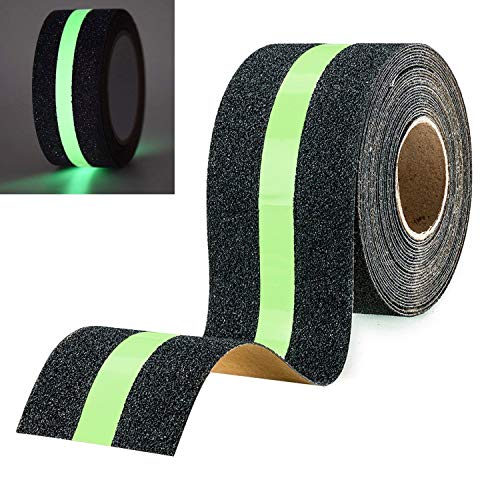
Anti-slip strips are a type of safety product designed to increase traction on surfaces, especially where slipping is a risk, such as on stairs. These strips are usually made from materials like rubber, vinyl, or grit textures that provide a rough surface for your feet to grip. They come in various sizes, colours, and designs to suit different aesthetic preferences while offering functional benefits.
Why Are They Important?
Slips and falls can lead to serious injuries, which is why anti-slip strips are essential for anyone looking to enhance safety in their home, office, or public spaces. Stairs, in particular, are high-risk areas, as they are often frequented by individuals who may be carrying items, distracted, or may have mobility challenges. By providing a textured surface, these strips greatly reduce the likelihood of accidents.
Key Features to Consider When Choosing Anti-Slip Strips for Stairs
Material Considerations
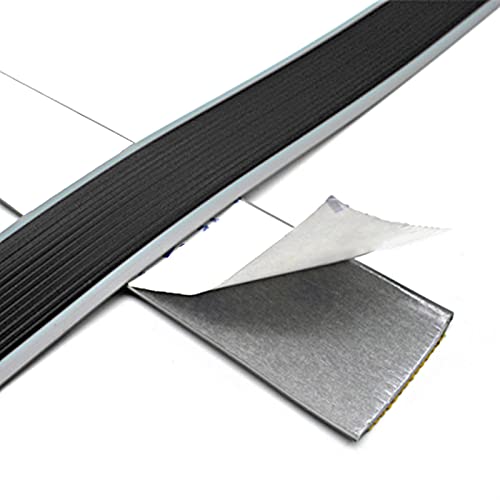
The material of the anti-slip strip is crucial. We recommend looking for durable materials that can withstand heavy foot traffic, such as rubber or high-grade vinyl. These materials are resilient and will maintain their anti-slip properties over time, even when exposed to moisture or varying temperatures.
Dimensions and Design
It’s important to choose anti-slip strips that fit your stairs properly. Strips are available in various widths and lengths, so we advise selecting strips that are long enough to cover the entire depth of each stair tread. Additionally, consider the colour and design that will not only serve the safety function but also complement your existing decor.
Adhesive Quality
We strongly recommend checking the adhesive quality of anti-slip strips. A high-quality adhesive ensures that the strips stay firmly in place without peeling or lifting over time, even when exposed to cleaning products or moisture.
How to Measure Your Stairs to Ensure a Perfect Fit
Measuring the Tread Depth
To ensure a perfect fit for your anti-slip strips, start by measuring the depth of your stair treads. Using a measuring tape, take the measurement from the back edge of the tread to the front. This will help you choose strips that cover the entire tread without hanging over.
Checking the Width of the Stairs
Next, measure the width of the stairs. Most anti-slip strips can be purchased in standard widths, but measuring ensures that you don’t end up with strips that are too narrow or overly wide. A snug fit will enhance both safety and appearance.
Accounting for Stair Riser Height
Finally, consider the height of your stair risers. While anti-slip strips are primarily used on the tread area, knowing the riser height can help you determine if you need additional strips for added visibility or further protection.
Top Recommendations for Anti-Slip Strips: Our Picks for Every Budget
Affordable Options
For those on a budget, we suggest looking at basic rubber anti-slip strips. These are economical yet effective, providing good quality with sufficient grip at a reasonable price.
Mid-Range Recommendations
If budget allows, opt for mid-range anti-slip strips that combine aesthetics with functionality. Look for strips that offer a variety of colours and designs, ensuring safety while enhancing your decor. Such options often come with superior adhesive backing.
Premium Choices
For maximum durability and style, explore premium anti-slip strips. These are often crafted from high-quality materials, may include added features like reflective elements for visibility, and cater to bespoke designs, ensuring both safety and a perfect fit with your interior decor.
Installation Tips: How to Apply Anti-Slip Strips Effectively
Preparation of the Surface
Before applying anti-slip strips, it’s crucial to prepare the surface of your stairs. Clean the staircase thoroughly to remove dust, grime, or any moisture that may prevent adhesion. This step ensures the strips stick properly and remain in place for a long time.
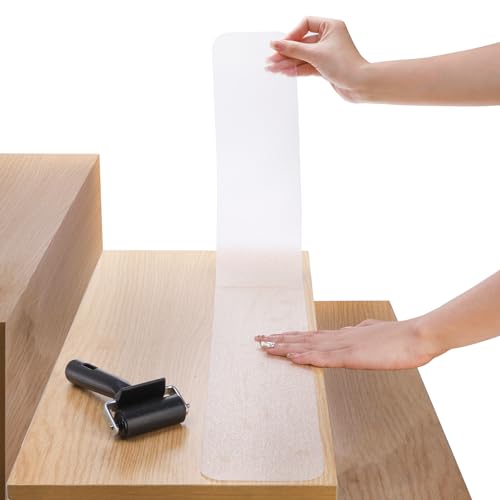
Applying the Strips
When applying the strips, start at one end of the stair tread, carefully aligning it with the edge. Press down firmly, moving from one end to the other to prevent air bubbles. Ensure that the strips cover the entire surface area as intended.
Final Touches
Once installed, check that all edges are securely adhered. It’s a good idea to avoid using the stairs immediately after installation; allowing the adhesive to set for a few hours will give you the best results and maximum safety.