

![HOZELOCK Porous Hose 25m [6764P0000]](https://m.media-amazon.com/images/I/51Od3ZruzpL._SL500_.jpg)


Understanding Drip Hose: What Is It and How Does It Work?
What is a Drip Hose?
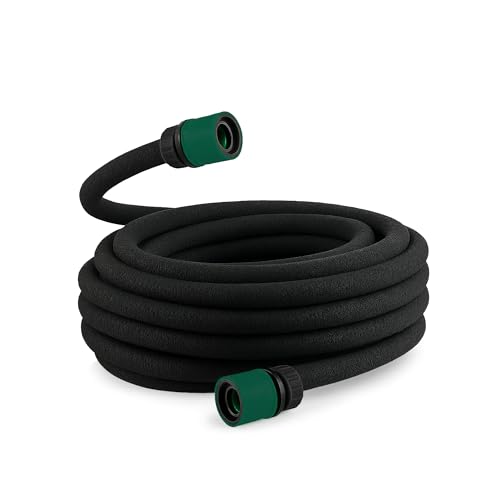
A drip hose, also known as a drip irrigation hose, is a flexible tube designed to deliver water directly to the roots of plants. Unlike traditional sprinkler systems that spray water over a large area, a drip hose emits water slowly through small holes along its length. This targeted approach helps conserve water while ensuring that plants receive the moisture they need at the right time. Imagine having a garden where every plant gets just the right amount of water without the risk of overwatering or water wastage – that’s the essence of a drip hose.
How Does It Work?
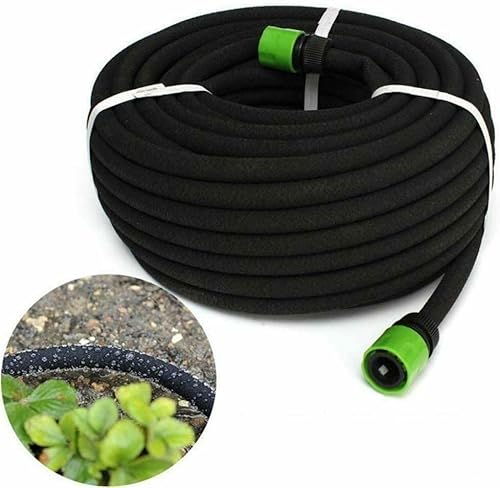
The operation of a drip hose is quite straightforward. Water from a faucet or a water tank flows through the hose, and as it travels, it seeps out through the small openings. These openings, or emitters, are strategically placed to provide optimal coverage for your garden. For instance, if you have a row of vegetables, the emitters can be aligned to water each plant individually. This system can easily be adjusted to deliver varying amounts of water based on the size of your garden and the specific needs of your plants.
Benefits of Using Drip Hose for Your Garden: Effective Watering Made Simple
Water Conservation
One of the major benefits of using a drip hose is its efficiency in conserving water. Since the water is delivered directly to the roots, evaporation is minimized, and runoff is virtually eliminated. For gardeners wanting to reduce water usage without sacrificing their plants’ health, switching to a drip hose can make a significant impact.
Improved Plant Health
The way a drip hose irrigates means plants are less susceptible to diseases caused by damp foliage. By keeping the leaves dry and focusing on root watering, plants are healthier and develop stronger root systems. Consider the difference between a plant that receives water only through its roots versus one that is regularly soaked from above. Healthy roots translate into vibrant blooms and successful harvests.
Flexibility and Customisation
Drip hoses can be customised to fit any garden layout. Whether you have a small balcony pot garden or an extensive vegetable patch, drip hoses can be laid out in a way that makes watering straightforward and effective. Each section can be tailored, with different lengths and emitter rates according to your plants’ differing water needs.
Choosing the Right Drip Hose: Key Features to Consider
Material
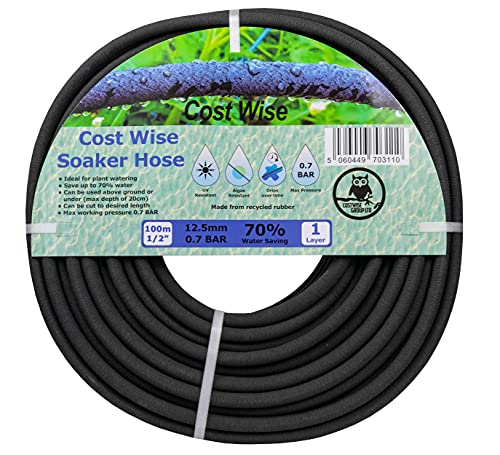
When selecting a drip hose, the material is pivotal. Common materials include vinyl and polyethylene. Vinyl hoses are lightweight and easy to handle, making them a popular choice for home gardens. Polyethylene hoses, on the other hand, tend to be more durable and resistant to UV light, which helps them last longer in outdoor conditions. We recommend considering your garden’s specific needs and how long you want the system to last.
Emitter Spacing
The spacing of emitters is also crucial. Some hoses come with fixed emitter spacing, while others allow for flexibility. If you have a variety of plants that require different amounts of water, a hose with adjustable emitter spacing can make it easier to cater to everyone’s needs.
Length and Diameter
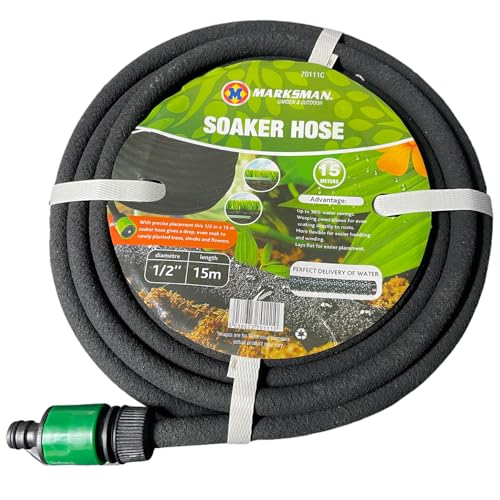
Drip hoses are available in various lengths and diameters. Think about how much area you want to cover; longer hoses can reach further into your garden, whereas a thicker diameter allows for water to flow more freely. We recommend measuring the area of your garden before purchasing to ensure you get a hose that will work efficiently for your set-up.
Setting Up Your Drip Hose System: A Simple Step-by-Step Guide
Plan Your Layout
Before you start the installation, we suggest sketching a layout of your garden and marking where your plants are located. This will help you decide where to lay the hoses and emitters so that every plant receives adequate water.
Gather Your Materials
You’ll need your chosen drip hose, emitters, stakes or holders to keep your hose in place, and connectors to attach sections together. Make sure you have everything on hand before starting the installation to make the process smoother.
Install the Hose
Begin by laying the hose along your planned layout. Use stakes to secure the hose at intervals and ensure it holds its shape. Remember to place the emitters near the base of each plant to maximise water efficiency. Connect the hose to your water source, and turn it on to test for leaks.
Maintaining Your Drip Hose: Tips for Longevity and Efficiency
Regular Checks
To keep your drip hose system functioning correctly, we advise checking it regularly. Look for clogs at the emitter holes and clear them as needed. Additionally, it’s wise to inspect the hose material for any signs of wear and tear. Catching these issues early can prevent bigger problems later on.
Seasonal Maintenance
At the end of each growing season, consider draining the drip hose to prevent water from remaining inside, which can lead to freezing and damage during colder months. Store the hoses in a dry place, and consider replacing any parts that show signs of significant wear.
Observe Water Distribution
Finally, keep an eye on how well the water is being distributed across your garden. If certain areas look dryer than others, it may be time to adjust the emitter placements or check for blockages. Regular monitoring helps maintain an efficient watering system and supports healthy plant growth.


