


Understanding G9 LED Bulbs: What You Need to Know
What is a G9 LED Bulb?
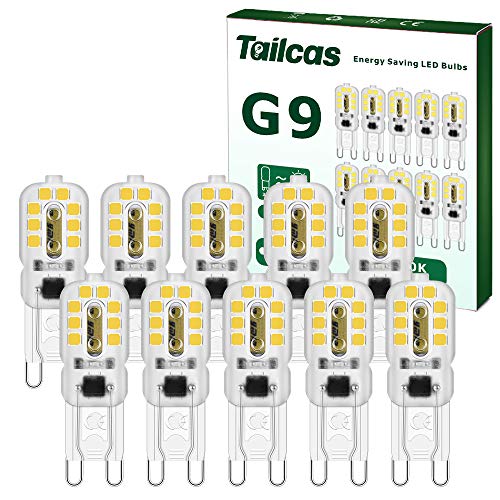
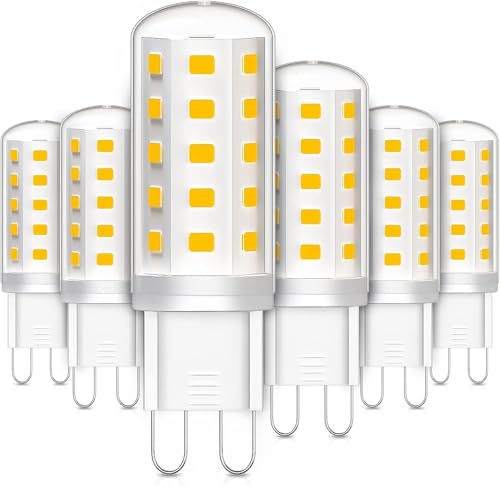
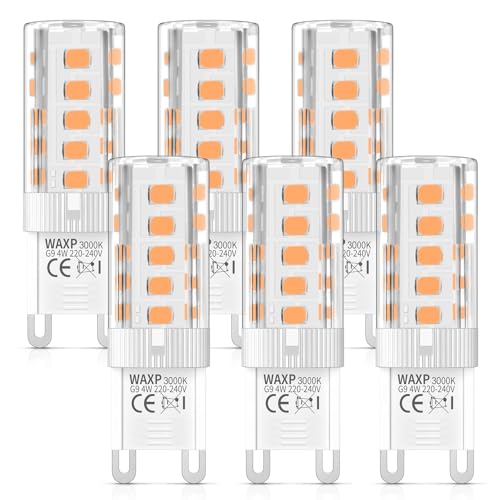
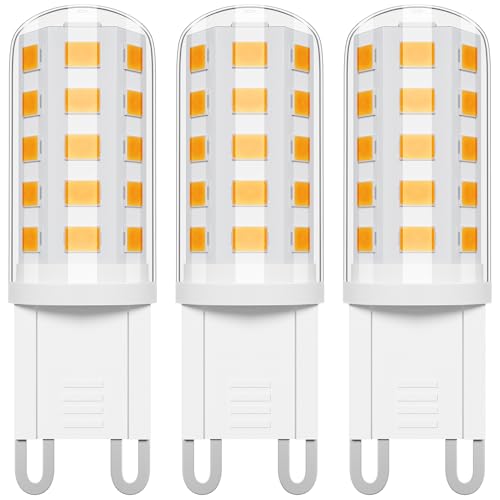
G9 LED bulbs feature a distinctive two-pin base, making them easy to spot among other types of bulbs. The name G9 comes from the distance between the pins, which is 9 millimetres. These bulbs are designed to replace traditional halogen bulbs, offering a modern and energy-efficient alternative. You’ll find them in a variety of fixtures around your home, including spotlights, ceiling and wall lights, allowing for versatility in your lighting solutions.
Why Choose LED?
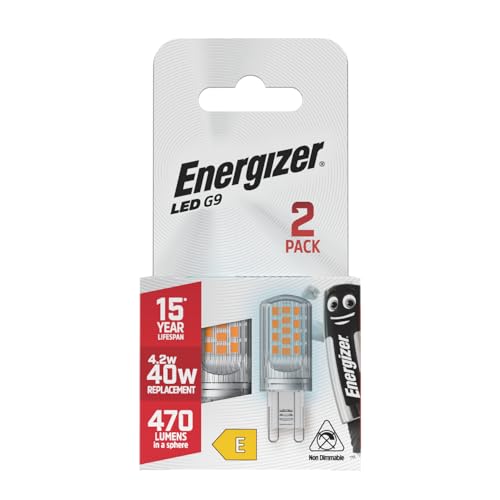
LED (light-emitting diode) technology has revolutionised lighting efficiency and longevity. G9 LED bulbs are far more efficient than their halogen counterparts, consuming significantly less power while providing the same amount of light. This not only benefits the environment but also leads to substantial savings on your electricity bill. Moreover, a typical G9 LED bulb lasts up to 25,000 hours, reducing the frequency and expense of replacements.
Choosing the Right Brightness: A Simple Guide
Understanding Lumens
When it comes to brightness, it’s not about watts anymore; it’s all about lumens. The higher the lumen count, the brighter the bulb. For G9 LED bulbs, you typically want a minimum of 400 lumens for general lighting in smaller rooms, and up to 800 lumens for more spacious areas. Think about the purpose of each room; for instance, brighter bulbs are ideal for task lighting in kitchens or offices, while softer brightness works well in living rooms or bedrooms.
Comparing Bulb Brightness
To help picture this better, consider a standard 40-watt halogen bulb that emits around 400 lumens. Replacing that with a much lower wattage G9 LED bulb—about 5 to 6 watts—will provide similar brightness at a fraction of the energy cost. Always check the packaging or product description for the lumens listed, so you can find the perfect brightness without confusion.
Energy Efficiency Explained: Save on Your Electricity Bills
Why Energy Efficiency Matters
Energy efficiency should be a top priority when selecting lighting options. G9 LED bulbs excel in this area, consuming a fraction of the power of comparable halogen bulbs. This makes them an excellent choice for environmentally conscious households looking to reduce their carbon footprint, as well as for those wanting lower utility costs.
Calculating Savings
To put it simply, if you replace three 40-watt halogen bulbs with 5-watt G9 LED bulbs, you’ll be saving 105 watts per hour, which can quickly add up over a month. Given that G9 LEDs can last up to 25 times longer than halogen bulbs, your overall savings in energy use and replacement costs can be substantial. This means that while the initial purchase might be a bit more, the returns on your investment for G9 LED bulbs will be notable.
Different Styles of G9 LED Bulbs: Finding the Perfect Match for Your Home
Variety of Designs
G9 LED bulbs come in various shapes, sizes, and styles to suit all types of home decor. From classic clear glass designs that mimic traditional incandescent bulbs to frosted options that diffuse light softly, there is a G9 LED for every aesthetic preference. Some even offer a vintage touch, featuring exposed filaments.
Choosing the Right Style
When selecting a bulb style, think about the fixture it will be used in. If you have an exposed fixture, a decorative G9 bulb can enhance the overall look. For closed shades or lamps, consider frosted or diffused bulbs to create a warmer atmosphere. It’s all about complementing your home while ensuring functionality.
Installation Made Easy: A Step-by-Step Process
Gathering Your Tools
Installing G9 LED bulbs is a straightforward process that requires no special tools. All you need is a ladder if the fixture is high up and a pair of gloves if you prefer to avoid direct contact with the bulbs. Ensure the power is turned off before starting to prevent any electrical mishaps.
The Installation Steps
To install, start by gently removing the old halogen bulb by grasping it firmly, and twisting it counterclockwise. Once it’s out, take your new G9 LED bulb and align the pins with the socket. Push gently and twist clockwise until it’s secure. Switch the power back on, and you should be able to enjoy your new LED lighting instantly. It’s that easy!


