
What is a Grout Finisher and How Does It Work?
Understanding the Tool
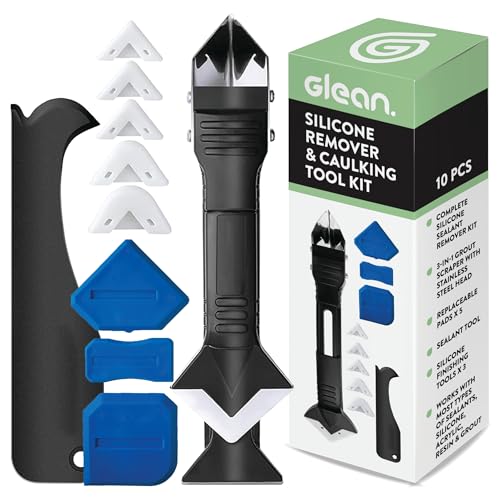
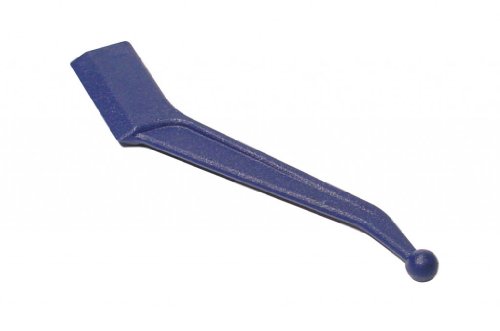
A grout finisher is a hand tool designed to smooth and shape grout lines in tiling projects. Imagine you’ve just laid tiles in your kitchen, and while the tiles look great, the grout lines between them are uneven and messy. That’s where a grout finisher comes into play. It typically consists of a flat, often angled blade that you use to press and shape the grout, ensuring clean and uniform lines. The tool works by helping to compress the grout into the joint and providing a smooth finish, which enhances the overall appearance of your tiled surface.
How It Mechanically Operates
Using a grout finisher is about applying the right pressure and angle to achieve optimal results. You would start by filling the gaps between the tiles with grout, then using the grout finisher, you would press against the grout line to smooth it out. The angular edge allows you to push the grout into the joint while creating a slight slope that helps in drainage and prevents dirt build-up. It’s like using a painter’s tool to layer paint smoothly; with the right technique, you can achieve a perfectly polished look.
Benefits of Using a Grout Finisher: Why You Should Consider It
Enhancing Aesthetic Appeal
One of the primary benefits of using a grout finisher is the immediate enhancement in the aesthetic appeal of your tiles. By ensuring that the grout lines are smooth and even, you elevate the overall look of your tiled area, making it appear more professional and polished. Instead of noticing uneven grout lines, your eye will be drawn to the beautiful patterns created by the tiles.
Saving Time and Effort
Using a grout finisher can also save you time and effort in your tiling project. With the right technique, you can quickly achieve a neat finish, cutting down the amount of time spent on cleaning up grout messes or having to redo your work. It simplifies the process, allowing you to enjoy the results of your labour without excessive fuss.
Improving Durability of Grout Lines
Moreover, utilizing a grout finisher can extend the life of your grout. Properly finished grout lines are less prone to cracking and chipping, meaning they’ll withstand the test of time better than if left unrefined. This adds to the durability of your entire tiling job, ensuring that it will last for years without requiring premature repairs.
Choosing the Right Grout Finisher: Key Features to Look For
Material Considerations for Longevity
When selecting a grout finisher, consider the materials it is made from. Look for options that are durable, such as those with stainless steel or high-quality plastic components. These materials ensure that the tool will withstand repeated use without bending or breaking.
Grip and Comfort For Ease of Use
Another feature to focus on is the handle design. An ergonomic grip is crucial for comfort, especially when you’re working on larger projects. A well-designed handle allows for better control and reduces fatigue during use, which is an important consideration for any DIY enthusiast or professional.
Versatility for Different Grout Lines
You might also want to look for a grout finisher that offers different blade widths. Some tools come with interchangeable blades or various sizes to suit different grout line widths and depths. This versatility means that whether you’re working on intricate mosaic tiles or larger slabs, you’ll have the right tool for the job.
How to Use a Grout Finisher: Step-by-Step Guide for Best Results
Prepare Your Workspace
Start by ensuring your tiles are set and the grout is properly mixed. Gather your equipment, including the grout mixture, a sponge, and of course, your grout finisher. Having everything in one place will streamline the process.
Apply the Grout
Using a grout float, apply the grout to the spaces between the tiles, pressing it firmly to fill all gaps. Make sure to overfill slightly as this allows for adequate shaping.
Smoothing with the Grout Finisher
Once your grout is applied, take the grout finisher and position it at a slight angle to the grout line. Press gently but firmly and sweep the finisher along the joint, maintaining steady pressure. Repeat this process until all grout lines are even and smooth.
Cleaning Up Excess Grout
After finishing, use a damp sponge to wipe away any excess grout on the tile surfaces. Be careful to avoid disturbing the newly smoothed grout lines. Cleansing the tiles right after finishing will help maintain the clarity of your tiles.
Maintenance Tips for Your Grout Finisher: Keep It in Top Shape
Regular Cleaning After Use
To ensure your grout finisher remains in optimal condition, clean it after every use. Grout can dry hard on tools, so rinsing it under warm water immediately after finishing will prevent any build-up that could damage the blade.
Store Properly
Store your grout finisher in a dry place, preferably in a protective case or a designated tool box. This prevents warping and keeps the blade from being exposed to moisture, which could affect its longevity.
Periodic Inspection for Wear and Tear
Check your tool regularly for any signs of wear or damage. If you notice that the blade is becoming dull or bent, it might be time to consider replacement. Keeping an eye on your equipment will ensure you’re always ready for your next tiling project.