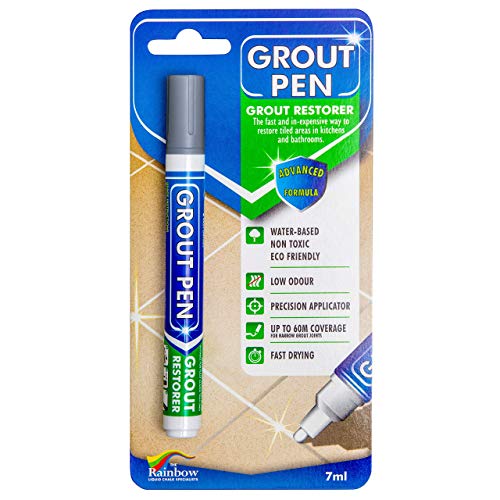
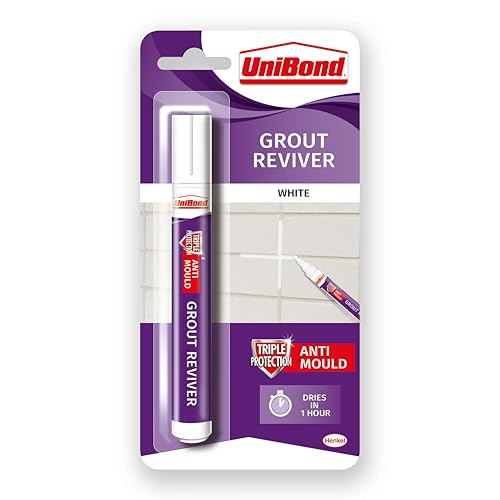
Understanding What a Grout Pen Is and How It Works
What is a Grout Pen?
A grout pen is a handy tool designed for renewing the appearance of discoloured or stained grout lines in tiles. It’s essentially a felt-tip pen filled with a specially formulated paint that matches the colour of your grout, allowing you to easily touch up and refresh those lines without the need for scrubbing or replacing the entire grout. Using a grout pen can instantly brighten your tiles, making your floors and walls look cleaner and more inviting.
How Does It Work?
Using a grout pen is quite simple. The nib allows for precise application right onto the grout lines, much like using a regular marker. As you draw along the grout, the ink fills in any cracks or stains. The ink is designed to adhere well to the existing grout, creating a long-lasting finish that can stand up to normal wear and tear. This means that you can effectively alter the look of your space with minimal effort.
Key Benefits of Using a Grout Pen in Your Home
Instant Aesthetic Improvement
One of the main advantages of using a grout pen is the instant visual transformation it brings to your space. If you’ve ever looked at dull, stained grout and thought about how it pulls down the overall look of your tiles, you’ll appreciate the immediate brightening effect of a grout pen. It’s an effective quick-fix solution that can help rejuvenate your home.
Cost-Effective Solution
Replacing grout can be expensive and time-consuming, but using a grout pen is an affordable alternative. With just a small investment, you can achieve similar results without the hassle of hiring a professional or undergoing major renovations. This makes it an ideal choice for both renters and homeowners looking to enhance their living spaces on a budget.
Ease of Use
Using a grout pen doesn’t require any special skills or tools. It’s user-friendly, allowing anyone to use it without prior knowledge or experience. You can usually tackle the project in just a few hours, depending on the area you’re working on, which makes it an appealing option for quick home improvements.
Choosing the Right Grout Pen for Your Needs
Consider the Size and Type of Nozzle
When selecting a grout pen, pay attention to the size and type of the nozzle. Some pens come with precision tips designed for intricate details, which can be beneficial when dealing with narrow grout lines. Others may have broader tips, suitable for larger areas. Depending on your tiles, pick a pen that matches the width of your grout lines for optimal results.
Match the Colour
Colour matching is crucial for a seamless finish. Many grout pens are available in a variety of shades, so it’s important to choose one that closely resembles the original colour of your grout. Some products even allow you to mix colours, providing flexibility in achieving the perfect match.
Look for Longevity and Durability
It’s wise to look for a grout pen that promises long-lasting results. Some pens are designed to resist stains, moisture, and fading, which is ideal for use in high-traffic areas or wet environments like kitchens and bathrooms. Checking the product specifications will help ensure you choose a pen that can stand the test of time.
Step-by-Step Guide: How to Use a Grout Pen Effectively
Prepare Your Surface
Before you start, ensure your surface is clean and dry. Use a mild detergent and a soft brush to scrub the grout lines, removing any dirt or mildew. Allow the area to dry completely, as applying the grout pen on a wet surface can lead to poor adhesion and uneven results.
Test the Pen on a Small Area
Prior to applying the grout pen to the entire area, it’s a good idea to test it on a small, inconspicuous section. This test will allow you to check the colour and the ease of application without affecting the larger visible area.
Apply the Grout Pen with Care
Begin applying the grout pen by carefully drawing along the grout lines. Take your time and apply a consistent amount of pressure to achieve an even application. If you go outside the grout lines, you can easily wipe away the excess with a damp cloth before the ink dries.
Allow to Dry and Evaluate
After you have applied the grout pen to the necessary areas, give it adequate time to dry. This can vary between products, so refer to the instructions on the packaging. Once dry, evaluate your work. If certain areas need touching up, simply repeat the application process until you achieve the look you desire.
Maintaining Your Grout and Extending its Lifespan
Regular Cleaning Practices
To keep your freshly renewed grout looking its best, establish a routine cleaning regime. Regularly sweeping or vacuuming the area to remove dirt and grime will help prevent build-up that can lead to stains. Additionally, using a simple vinegar and water solution can help maintain the appearance of grout without damaging it.
Seal Your Grout After Application
Once you have used your grout pen and are satisfied with the outcome, consider sealing the grout. Applying a grout sealer can create a protective barrier against stains and moisture, significantly extending the life of your grout. It can also make future cleaning easier, giving your tiles a lasting fresh look.
Address Stains Immediately
If you notice any stains or spills on your grout in the future, address them promptly. The longer they sit, the more difficult they may be to remove. By acting quickly, you can maintain the perfect finish you’ve achieved with your grout pen and keep your tiles looking great.