


Understanding Homekit Cameras: What They Are and How They Work
What is a Homekit Camera?
Homekit cameras are smart security cameras that integrate seamlessly with Apple’s Homekit ecosystem. These cameras enable us to monitor our homes remotely through our iPhones, iPads, or Apple Watches. They offer features like live streaming, video recording, and motion detection, ensuring we stay connected to our homes even when we’re away.
How Do They Operate?
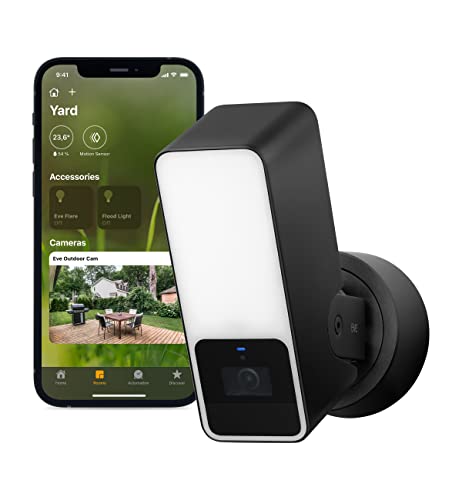
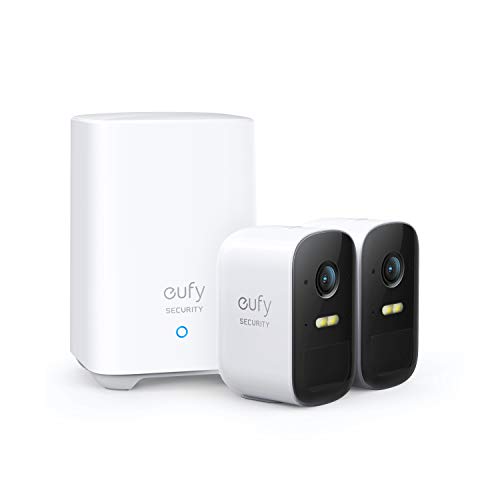
The operation of Homekit cameras is straightforward. Once installed, these cameras connect to our home Wi-Fi network, allowing us to receive alerts and view live video feeds directly through the Home app. With features like secure video encryption, our privacy is respected, and we can enjoy peace of mind knowing our footage is safe.
Choosing the Right Homekit Camera for Your Space
Assessing Your Needs
Before selecting a Homekit camera, it’s important to assess our specific needs. Consider factors such as the size of the area we wish to monitor, whether indoor or outdoor usage is required, and how much natural light the area receives. For instance, if we need to monitor a large entryway, a camera with a wider field of view would be advantageous.
Indoor vs. Outdoor Cameras
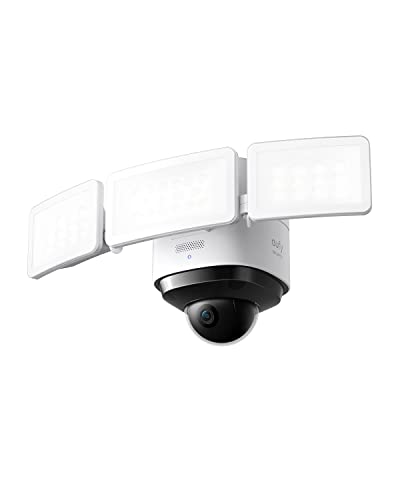
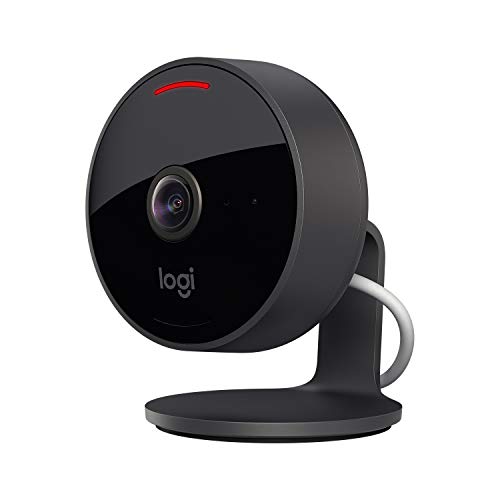
Indoor cameras are designed for monitoring the inside of our homes, focusing on areas like living rooms or nurseries. Outdoor cameras, on the other hand, are built to withstand the elements, offering weatherproof housing and enhanced night vision. Choosing the right type is crucial for effective surveillance.
Key Features to Look for in a Homekit Camera
Video Quality
Video quality is vital for clear footage. We should look for cameras that offer at least 1080p HD resolution for crisp images, especially for identifying faces or details in recorded clips. Some cameras even provide 4K options for the best quality.
Motion Detection and Alerts
A reliable motion detection feature is essential. Homekit cameras that allow us to set customizable motion zones help reduce unnecessary notifications. Real-time alerts notify us instantly when motion is detected, keeping us informed about any activities in our home.
Night Vision
Investing in a camera with good night vision capability enhances our monitoring, especially in low-light conditions. Look for models offering infrared night vision to ensure we can capture clear images even in the dark.
Setting Up Your Homekit Camera: A Step-by-Step Guide
Installation Process
Setting up a Homekit camera is typically straightforward. We start by downloading the relevant app and ensuring our camera is charged or plugged into power. Position the camera at an optimal height and angle for maximum coverage before following the on-screen instructions in the app to connect it to Wi-Fi.
Integration with Homekit
After the device is connected to Wi-Fi, we can integrate it with Homekit by scanning the Homekit code provided with the camera. This step allows us to access the camera directly through the Home app, enabling easy management alongside other smart devices.
Maximising the Benefits of Your Homekit Camera
Utilising Automations
To get the most out of our Homekit camera, we can set up automations using the Home app. For example, we can automate our camera to start recording when we leave home or receive notifications when a family member arrives. This maximises our security and convenience.
Regular Updates
Keeping our camera’s firmware up-to-date is crucial for app performance and security. Regular checks through the app ensure we benefit from the latest features and keep our device functioning smoothly.