


Understanding What a Leather Repair Kit Can Do for You
The Essence of Leather Repair Kits
A leather repair kit is designed to help you fix imperfections in your leather goods, whether it’s your favourite jacket, a beloved sofa, or a stylish handbag. Think of it like a first aid kit specifically for leather. The aim is to restore the original appearance and extend the life of your items without needing to hire a professional, which can be costly and time-consuming. Imagine a scuffed armchair that you thought you had to replace; with a repair kit, you can tackle scratches, cuts, and even discolouration, saving you money and preserving your beloved leather.
Ideal for Various Leather Items
These kits can be applied to a wide range of leather items, including clothing, furniture, shoes, and car interiors. Picture your leather sofa, now with coffee stains or fading colour; using a leather repair kit allows you to refresh its look right at home. This versatility makes repair kits a smart investment for anyone who owns leather products.
Key Features to Look for in a Leather Repair Kit
Contents of the Kit
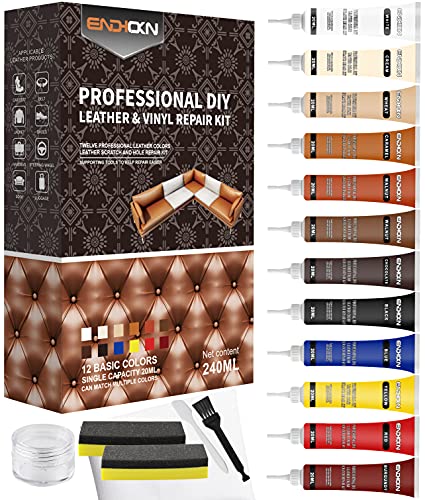
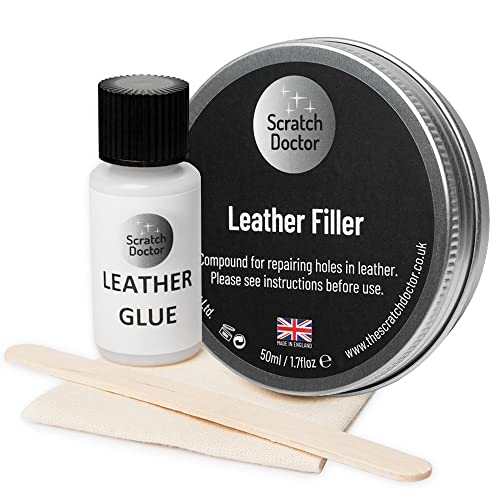
When purchasing a leather repair kit, we should look for one that contains essential components such as adhesive, colour compounds, and tools like applicators or sponges. A comprehensive kit provides everything needed for a successful repair, saving us from having to buy additional tools separately.
Colour Matching Ability
One of the standout features to consider is the colour matching capability. Many kits offer a range of colours, allowing us to blend repairs seamlessly with the original leather tone. Imagine fixing a scratch on your brown leather jacket; it’s crucial that the repair colour closely matches to avoid it standing out.
Ease of Use
A good leather repair kit should also be user-friendly. Look for kits that come with clear instructions and tutorials, enabling us to follow along easily. If using the kit feels daunting, then it may not be the right choice.
Versatile Applications
We also want a kit suited for various types of leather, including genuine and synthetic options. Finding a kit that can handle multiple materials will give us the peace of mind we need for any leather item in our collection.
Step-by-Step Guide: How to Use a Leather Repair Kit Effectively
Preparation is Key
Before we use the repair kit, it’s essential to clean the leather surface thoroughly. This ensures that the adhesive and repair compounds adhere properly. We should use a mild cleaner to remove any dirt or oils from the leather.
Applying the Repair Compound
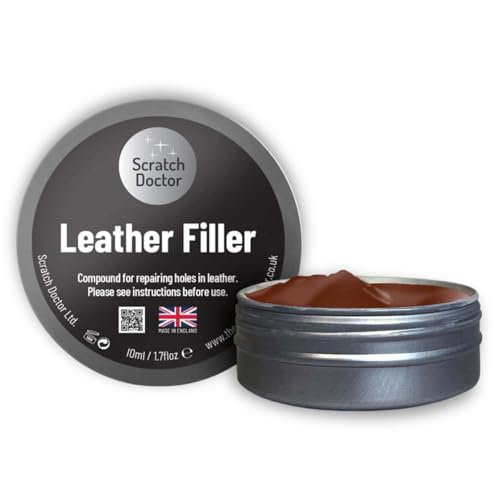
Once the area is clean and dry, we can prepare the repair compound. Many kits require us to mix colours to match the leather, so take your time to achieve the best match. Next, apply the compound to the damaged area using an applicator or spatula, smoothing it out to blend with the leather’s texture. If we’ve done it correctly, the compound should fill in scratches or tears without leaving a noticeable line.
Drying and Finishing Touches
After applying the compound, it’s usually best to let it dry completely before checking the results. Some kits may recommend a finishing cream or spray to protect the repaired area and enhance colour. Following these steps will help us achieve professional-looking repairs from the comfort of our home.
Top Leather Repair Kits Reviewed: Our Best Picks for Every Need
Best All-Rounder
We recommend seeking out a leather repair kit that has received positive feedback for its comprehensive contents and ease of use. Look for options that come with multiple adhesive types and colour choices to suit a variety of leather products.
Best for Furniture
For those focused on furniture, consider a kit specifically designed for upholstery. These often include larger repair patches and more specialised colour matching capabilities, enabling us to seamlessly repair larger areas of leather.
Best for Clothing
When it comes to clothing, find a kit that provides a flexible repair compound that can withstand movement, such as those used for jackets. The ability to match intricate colours and provide a thin repair will be crucial for wearables.
Maintaining Your Leather After Repair: Tips and Tricks
Regular Cleaning
Once we’ve successfully repaired our leather items, maintaining them is key. Regularly clean the leather using a suitable cleaner to keep it in good condition. This prevents future damage from dirt buildup that can cause further wear.
Conditioning Leather
Conditioning the leather helps to keep it supple and prevents cracking. We should apply a leather conditioner every few months, especially for items that see regular use. This ensures that the leather remains soft and retains its natural sheen.
Safe Storage
Lastly, consider how we store leather items when not in use. Store them in a cool, dry place, away from direct sunlight, which can lead to fading. Using padded hangers for jackets and breathable bags for handbags can further protect our leather goods.