


Understanding Low-Pressure Taps: The Basics We Should Know
What Are Low-Pressure Taps?
Low-pressure taps are specifically designed to work with plumbing systems that operate at lower water pressure, typically under 1 bar. In simpler terms, if your home’s water system struggles to push water up to traditional taps, a low-pressure tap is your go-to solution. These taps are ideal for homes with gravity-fed systems or older plumbing. They ensure a steady flow of water even when the water pressure is not ideal.
How Low Pressure Affects Performance
Using a standard tap in a low-pressure setting can lead to frustrating experiences, such as weak water flows or faucet malfunctions. Low-pressure taps are built to function optimally under these conditions. They generally have larger openings, allowing more water to pass through freely, which means you’ll enjoy a better experience when filling the kettle or taking a shower.
Key Features of Low-Pressure Taps: What to Look for Before Buying
Material Matters
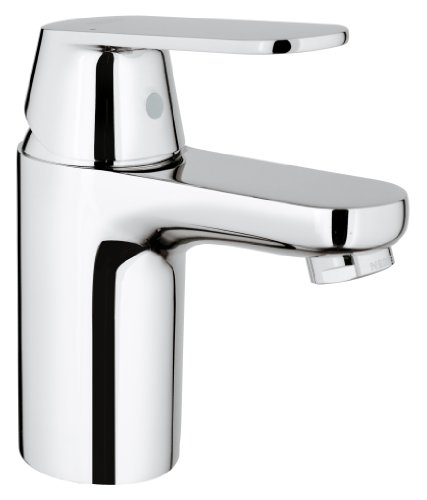
When choosing a low-pressure tap, consider the material. Brass is a common choice due to its durability and resistance to corrosion, while stainless steel offers a sleek modern look and great longevity. Ensure the material aligns with your kitchen or bathroom style.
Flow Rate
Pay attention to the flow rate when selecting a tap. This measurement indicates how much water the tap can deliver over a certain period. For low-pressure situations, look for taps that specify efficient flow rates that promise good performance despite lower water pressure.
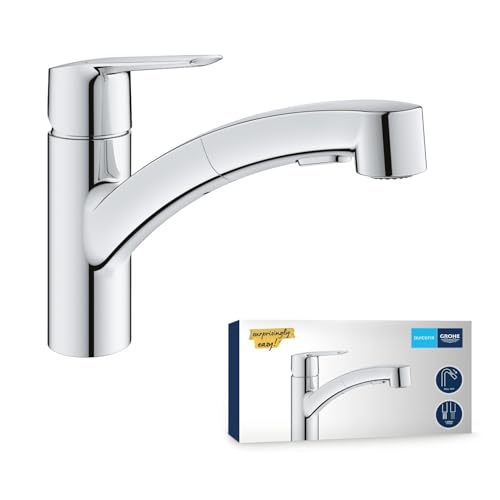
Design and Functionality
Choose a design that complements your home while also considering functionality. Mixer taps that allow you to regulate both hot and cold water can be particularly useful in low-pressure scenarios, ensuring smoother temperature control.
Installation Made Easy: How We Can Set Up Our Low-Pressure Tap
Simple Tools for Installation
Installing a low-pressure tap doesn’t have to be complicated. You’ll typically need a spanner, plumber’s tape, and a basic understanding of your current plumbing setup. Thoroughly read the manufacturer’s instructions, as they provide detailed steps tailored to that specific model.
Assess Your Current Setup
Before installation, check your existing plumbing. Ensure that it’s compatible with the new tap. If you’re replacing an old tap, it can be as simple as unscrewing it and following through with the new installation.
Maintenance Tips for Longevity: Keeping Our Low-Pressure Tap in Top Condition
Regular Cleaning
To maintain the pristine look of your low-pressure tap and prevent mineral build-up, regular cleaning is essential. Use mild detergents and soft cloths to avoid scratching. A vinegar solution can also work wonders for descaling.
Watch for Leaks
Periodically check for leaks around the base of your tap, as they can indicate wear and tear. Catching these early can save you from bigger repairs down the line.
Choosing the Right Style for Your Home: Finding the Perfect Low-Pressure Tap
Match With Your Home Decor
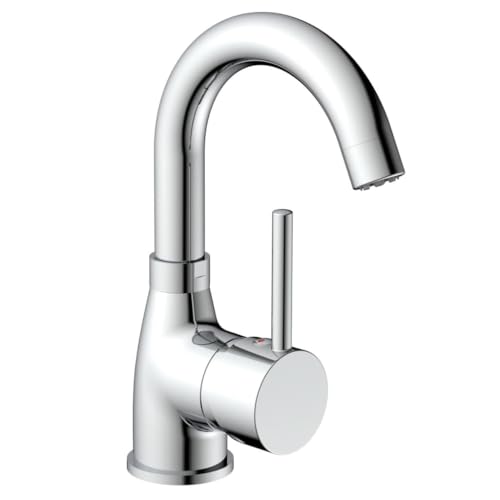
The style of your low-pressure tap should align with the aesthetic of your home. Whether you prefer traditional, modern, or industrial designs, there are numerous options available. Consider the finishing touches, such as chrome, brushed nickel, or matte finishes, to enhance your home’s overall look.
Consider Your Needs
Think about how you’ll be using the tap daily. If you often fill pots or large containers, a high spout may be advantageous, whereas a pull-out or pull-down feature can be highly beneficial in kitchens for added versatility.


