


What is a Plustek Scanner? A Simple Introduction
Understanding Plustek Scanners
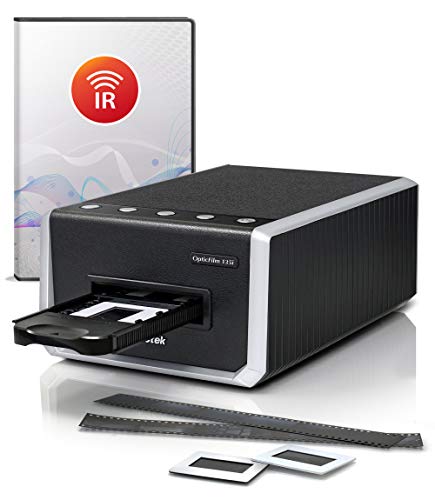
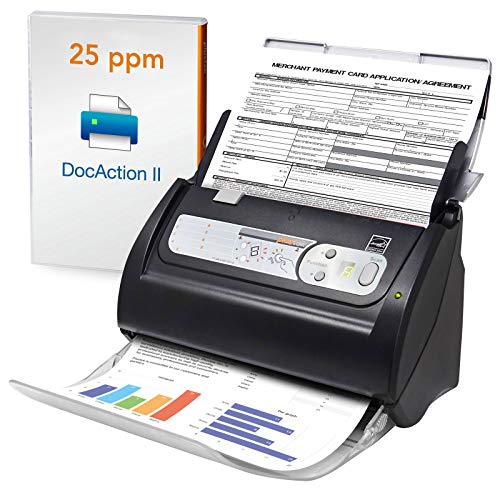
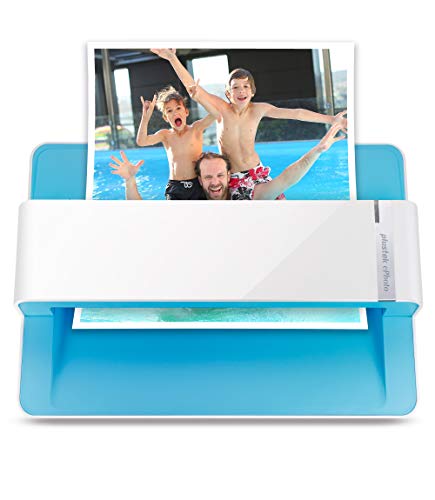
Plustek scanners are devices that capture documents and images, making them easy to store and share digitally. Imagine having a stack of old photographs or important paperwork. Instead of keeping these physical copies stored away, a Plustek scanner allows us to convert them into digital formats like PDF or JPEG. This convenience makes our lives easier by freeing up space and enabling us to access files quickly from our computers.
Key Features to Consider Before Buying
Resolution and Quality
One important aspect to consider is the scanning resolution. Scanners are rated by DPI (dots per inch), which determines the clarity and quality of the scanned image. If we plan to scan photographs for printing, a scanner with a higher DPI will capture more detail than one with a lower rating. For documents, a resolution of around 300 DPI is typically sufficient.
Speed of Scanning
The speed at which a scanner can process documents is another crucial feature. Think about how often we’ll be scanning multiple pages. If we’re in a busy environment, like an office, a model that can scan quickly can save us considerable time. Look for specifications that mention pages per minute (PPM); higher numbers indicate faster performance.
Connectivity Options
In today’s digital age, connectivity matters. Many Plustek scanners offer USB connections, which are standard, but some models also offer wireless options. If we prefer a clutter-free workspace or want to scan directly from mobile devices, opting for a scanner with wireless capabilities can be a great choice.
Versatility and Adaptability
Scanners come in many shapes and sizes. Some models can handle both documents and photos, while others might be optimised for one or the other. Depending on our scanning needs, we might want to consider a versatile model that can adjust to various types of media. This flexibility can prove beneficial if our scanning requirements change over time.
How to Choose the Right Plustek Scanner for Your Needs
Assessing Our Scanning Needs
Before we make a purchase, it’s important to evaluate what we will be using the scanner for. Are we planning to scan an occasional document, or is it meant for frequent, heavy use? For lighter use, an entry-level model might suffice, but if we intend to scan large volumes of paperwork regularly, investing in a higher-end model is advisable.
Understanding Budget Constraints
Budget plays a significant role in our choice. Plustek scanners are available at various price points, so determining how much we are willing to spend will help narrow down options. While it’s tempting to choose the cheapest option, considering long-term value is essential; sometimes spending a bit more initially can lead to a much better user experience.
Researching Reviews and Recommendations
Exploring user reviews can provide insight into the scanner’s performance in real-world scenarios. We could look for comments on ease of use, quality of scans, and customer support. This information will help us gauge whether a particular model aligns with what we need.
Step-by-Step Setup Guide for Your New Scanner
Unboxing and Initial Setup
Once we have our new Plustek scanner, the first step is to unbox it carefully. Make sure we have all the components, including the power cord and USB cable. Next, find a suitable place to set it up—ideally, a flat surface close to our computer.
Installing Software and Drivers
Before we can start scanning, we must install the necessary software. This usually comes on a CD included with the scanner or can be downloaded from the manufacturer’s website. Following the installation prompts is crucial, as this software will allow us to control various features of the scanner and access scanned files.
Connecting the Scanner to Our Computer
With the software installed, it’s time to connect the scanner to our computer. If we are using a USB connection, plug the cable into the scanner and then into an available USB port on our PC. For a wireless setup, follow the included instructions to connect to our Wi-Fi network.
Running a Test Scan
Now that everything is set up, it’s good practice to conduct a test scan. Place a document or image on the scanner, select the appropriate settings in the software, and start the scan. This will give us immediate feedback on how well the scanner performs and whether adjustments are needed.
Care and Maintenance Tips for Long-Lasting Performance
Regular Cleaning
To ensure our Plustek scanner continues to function optimally, regular cleaning is essential. Dust and debris can accumulate on the scanning surface, affecting the quality of scans. We should use a soft, lint-free cloth to gently wipe the surface and avoid using harsh chemicals that could damage it.
Software Updates
Keeping the scanner’s software updated is also essential for smooth operation. Manufacturers occasionally release updates that enhance functionality or fix bugs. We should check for updates regularly, either through the software interface or the manufacturer’s website.
Proper Usage Practices
Finally, using the scanner within its specified limits will prolong its life. We must adhere to the recommended paper types and thicknesses and avoid overloading the scanner with too many pages at once. Following these usage guidelines helps ensure that our scanner remains in great working condition for years to come.