


Understanding Popsicle Molds: What They Are and How They Work
What are Popsicle Molds?
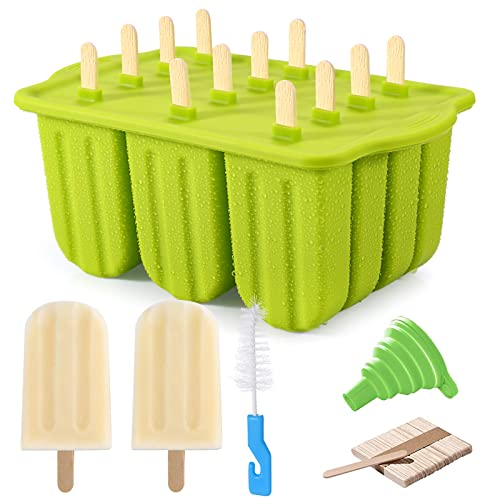
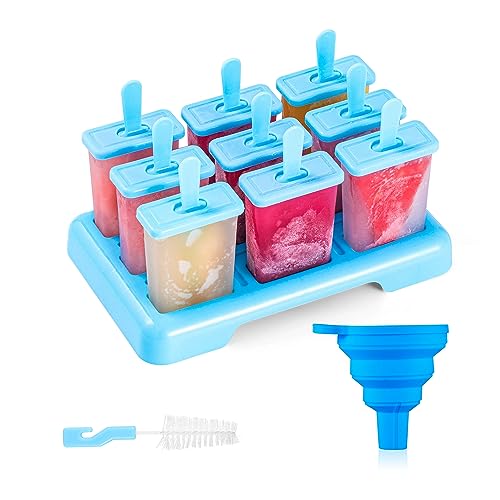
Popsicle molds are simple kitchen tools designed to create homemade frozen treats. Typically, they consist of a tray with multiple cavities where you pour your mixture—be it fruit juice, smoothies, or even yogurt. We insert sticks into the mixture, and once frozen, they transform our ingredients into delicious popsicles ready to enjoy on a hot day.
How Do They Work?
Using popsicle molds is straightforward. After preparing your desired mixture, fill each cavity and place the lid or sticks as applicable. The molds lock in place, allowing the contents to freeze evenly. Each mold is designed to create a seal, ensuring no spills in your freezer. After a few hours, you simply pull the popsicles out for a refreshing treat.
Choosing the Right Material for Your Popsicle Molds
The Different Types of Materials Available
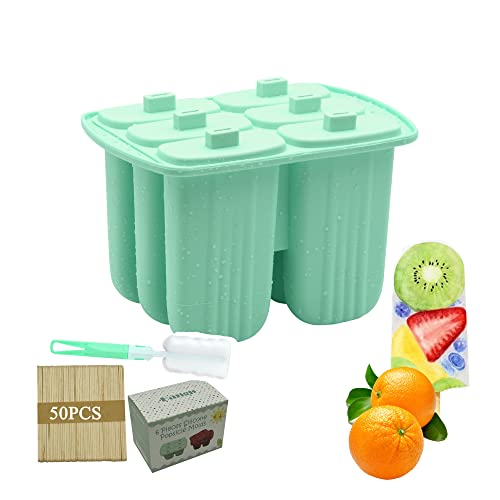
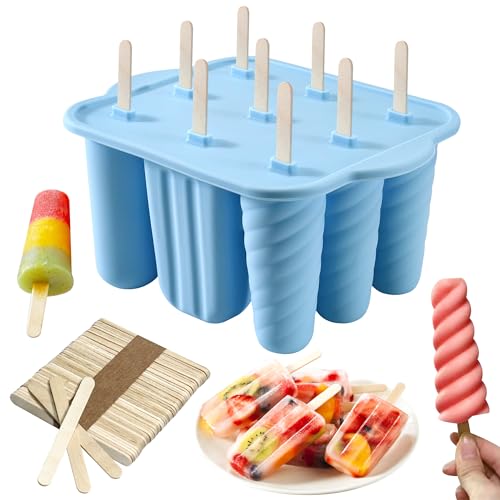
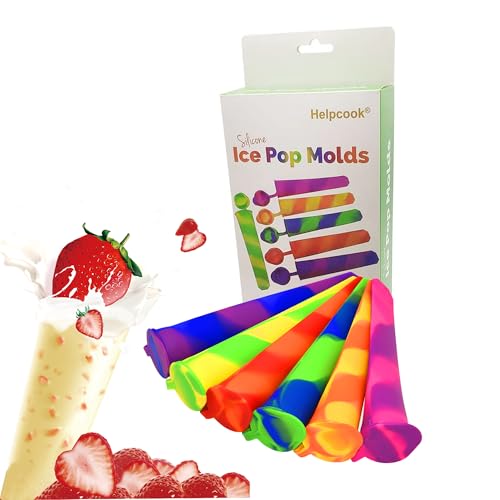
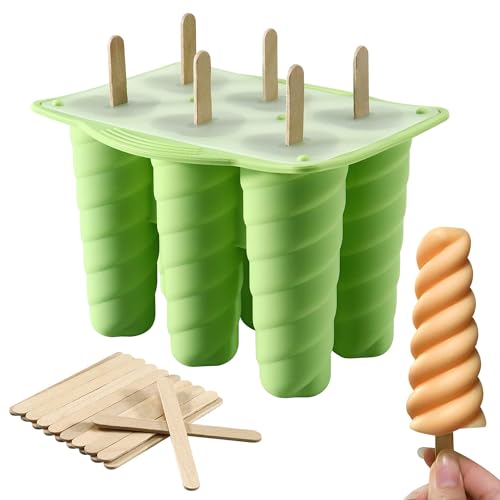
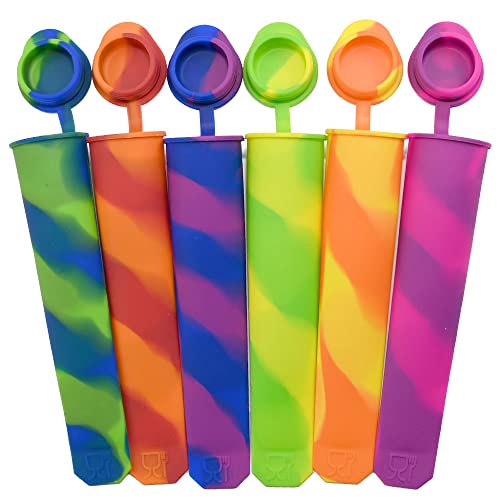
Popsicle molds come in various materials, primarily silicone, plastic, and stainless steel. Silicone molds are flexible, which makes it easy to release the popsicles without damaging them. Plastic molds are durable and often come in playful designs, appealing to children. Stainless steel, while pricier, offers durability and insulation, keeping your popsicles colder for longer.
Factors to Consider When Choosing Material
When selecting the right material, consider the ease of use, removal process, and ultimate longevity. Silicone is great for effortless removal but may require more careful cleaning to prevent lingering odours. Plastic options are lightweight and user-friendly but can discolour over time. Stainless steel is robust and efficient but may require more effort to clean due to its solid design.
Creative Recipes to Try with Your Popsicle Molds
Exploring Different Flavours and Ingredients
When using your popsicle molds, the possibilities are endless. We can blend different fruits such as strawberries, mangoes, or blueberries with a bit of coconut water for a refreshing treat. For a creamy option, mixing yogurt with honey and crushed nuts can create delightful popsicles. Experimenting with herbal infusions, like mint or basil, can also lead to unique flavour profiles.
Layering Techniques
To make your popsicles visually appealing, try layering different mixtures. Start with a fruit puree, freeze it for a bit, then add a yogurt layer, and freeze again before topping with another fruit puree. This not only enhances the aesthetic but also brings a delightful mix of flavours in each bite.
Tips for Easy Removal and Cleaning of Popsicle Molds
Effortless Removal Techniques
After freezing your popsicles, often, the most challenging part is getting them out of the mold without breaking them. A simple trick is to run the outside of the mold under warm water for a few seconds. This slight temperature change helps release the popsicle by loosening the sides, allowing for a smooth pull.
Keeping Your Molds Clean
Cleaning your molds properly ensures they remain hygienic and ready for the next batch. If you’re using silicone, a gentle wash with warm soapy water usually does the trick. For plastic molds, a soft sponge can prevent scratches and discolouration. Avoid harsh chemicals or rough scrubbing pads, as they can compromise the integrity of your molds.
Maximising Your Popsicle Molds: Storage and Organisation
Proper Storage Techniques
After using your popsicle molds, storing them neatly can save space and keep your kitchen organized. Stack the molds vertically in a cupboard, or if you’re short on space, consider using a drawer dedicated to your freezing tools. Ensure they are dry before storing to prevent mould growth.
Organising Your Frozen Treats
If you make popsicles frequently, labeling containers in which you store them can streamline the process. Clearly labelled bags can help you identify flavours quickly, making it easier to grab a refreshing treat whenever you feel like it. Additionally, placing them in a designated area in your freezer helps you avoid rummaging through, ensuring your desserts are always on hand.