


Understanding Softboxes: What Are They and How Do They Work?
What is a Softbox?
A softbox is a vital piece of photography equipment, used to diffuse light and create a softer light source. Imagine a bright, glaring light bulb that can create harsh shadows – it’s not flattering for portraits or product photography. A softbox steps in to fix this: it surrounds the light source with a soft fabric that spreads out the light and reduces those intense shadows. It works by taking a strong light and softening it, mimicking the natural diffusion of sunlight that we often find flattering in our pictures.
How Do Softboxes Work?
Softboxes typically consist of an outer shell that reflects light and an inner lining that can be white or silver. When the light emanates from the bulb inside the softbox, it bounces off the walls and passes through the diffusion material, resulting in a soft, even light. This light is perfect for illuminating subjects without causing unflattering highlights or deep shadows. Think about how sunlight filters through the clouds, providing that perfect glow – that’s what a softbox aims to achieve in your photography.
Choosing the Right Softbox Size: A Guide for Beginners
Determining Your Needs Based on Space and Subject
When selecting a softbox, size truly matters. For small subjects like headshots or products, a smaller softbox is sufficient, as it can provide targeted lighting without overwhelming the subject. However, if you’re shooting larger scenes or groups of people, a bigger softbox will distribute light over a wider area, resulting in a more even coverage. Think about where you’ll be shooting: in a small studio or a larger indoor space? This consideration will guide you towards the appropriate size.
Understanding the Impact of Softbox Size on Light Quality
The size of the softbox influences not only the amount of light but also its quality. A larger softbox tends to produce a softer light, which is ideal for reducing harsh shadows, while a smaller one may create a more concentrated light with more defined shadows. If your goal is to achieve a dreamy, ethereal look, opt for a larger softbox. In contrast, if you’re looking to define features sharply, a smaller option might be more suitable.
Types of Softboxes: Which One is Best for Your Needs?
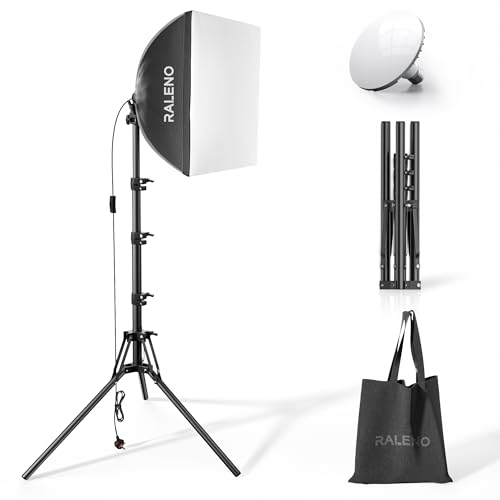
Rectangular Softboxes: Versatile and Functional
Rectangular softboxes are incredibly versatile and are ideal for both portraits and product photography. They can create flattering light for a variety of subjects, making them a solid choice for general use. Their shape allows for a broader spread of light, which can be aimed in various directions, giving you flexibility in placement.
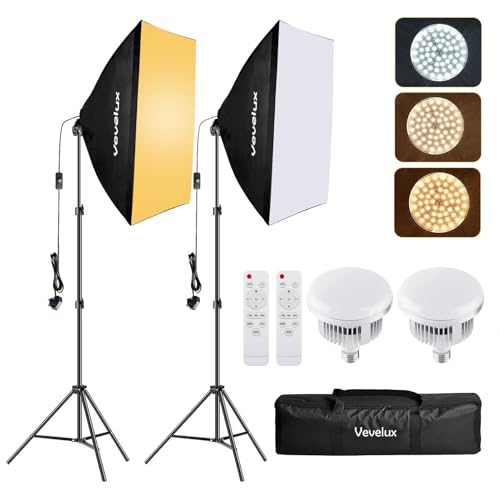
Square Softboxes: Ideal for Portraits
Square softboxes offer a more even light distribution, perfect for portraits. The symmetrical design provides a consistent look across all angles, which is especially beneficial in beauty shots where you want every detail of the face evenly lit. If you’re primarily capturing portraits, a square softbox can be your best bet.
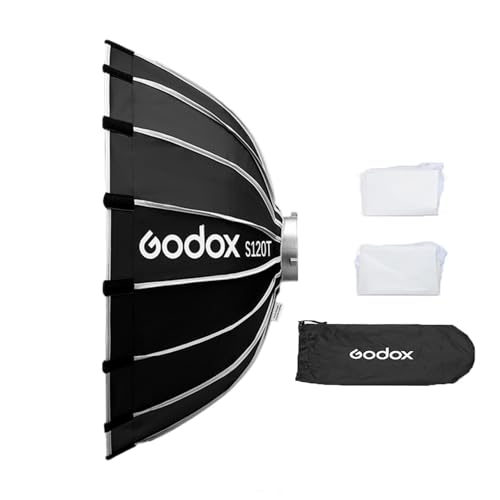
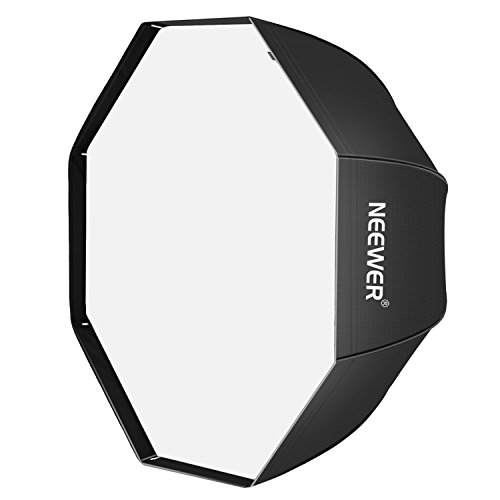
Octagonal Softboxes: Creating Gorgeous Catchlights
Octagonal softboxes, often referred to as octaboxes, are excellent for simulating natural sunlight. They create a distinctive catchlight in the eyes which adds sparkle and life to your portrait photos. If you want that professional look, an octagonal softbox can help you achieve it with ease.
Setting Up Your Softbox: A Step-by-Step Guide for Quick Results
Gathering Your Equipment
Before you begin setting up your softbox, ensure you have all necessary equipment handy: the softbox itself, a light stand, a light source (like a flash or continuous light), and a power source if required. Having everything at your fingertips will make the setup process smoother and quicker.
Assembly and Positioning
Start by assembling the softbox according to the manufacturer’s instructions. Usually, it involves attaching the diffuser fabrics and connecting it to the light stand. Once assembled, place the softbox at an angle towards your subject, roughly at 45 degrees, which is a classic lighting position that flatters most subjects. Adjust the height so that the centre of the softbox is at about the same height as your subject’s face.
Testing Your Setup
Take a few test shots to see how the light looks on your subject. You may want to adjust the distance of the softbox from your subject or the angle slightly for optimal results. Don’t hesitate to experiment, as small shifts can lead to significantly different lighting effects.
Essential Accessories for Softboxes: Enhance Your Lighting Experience
Grid and Snoot: Controlling Light Spread
To improve your softbox lighting control, consider using a grid. This accessory limits the spread of light, allowing you to concentrate it precisely where you need it. For more directed light, a snoot can also be added, creating a tighter beam that’s perfect for dramatic effects or highlighting specific areas.
Light Diffusers: Customising Softness
While softboxes already provide diffusion, additional diffusers can further soften the light. This is particularly useful for achieving that perfect soft portrait mood. You can layer different diffusion materials to customise the softness depending on your shooting environment and desired effect.
Reflectors: Maximising Light Use
Using reflectors in conjunction with your softbox can enhance your lighting setup. They bounce light back onto your subject, effectively filling shadows and providing a more balanced exposure. Whether you opt for white, gold, or silver reflectors will depend on the tone you want to achieve.