Understanding Solar Security Cameras: The Basics of Protection
What Are Solar Security Cameras?
Solar security cameras are surveillance devices that harness solar energy to operate. They are equipped with solar panels, which charge built-in batteries, enabling the cameras to function without relying on the conventional power grid. This autonomy makes them ideal for both residential and commercial applications, particularly in remote locations. Solar security cameras not only provide security through real-time monitoring but also contribute to energy efficiency, reducing overall electricity costs.
Why Choose Solar Security Cameras?
Choosing solar security cameras offers numerous advantages, especially for those looking to enhance their property’s security without the hassle of wired systems. They are incredibly versatile, allowing for easy placement anywhere there is sunlight, thus covering areas where traditional cameras might require extensive wiring or power sources. Furthermore, the energy independence provided by solar panels means you won’t lose surveillance capability during power outages.
Key Features to Look for in a Solar Security Camera
Image Quality and Resolution
When selecting a solar security camera, the image quality is paramount. Look for cameras that offer at least 1080p resolution to ensure clear and detailed footage. Some advanced models even provide 4K resolution for high-definition video capture, which can be crucial for recognising faces and licence plates in recordings.
Motion Detection and Alerts
An effective solar security camera should have reliable motion detection capabilities. This feature prevents unnecessary recordings by only capturing footage when movement is detected, saving storage space and allowing for more efficient monitoring. Many models are equipped with smart alerts that send notifications to your smartphone whenever motion is detected, ensuring you stay informed even while away from home.
Storage Options
Consider the storage options available with your solar security camera. Some cameras offer cloud storage, while others utilise local SD cards. Cloud storage often allows for remote access and is less likely to be damaged or stolen. Check if there are any associated costs with cloud services, as some models may offer a limited free tier.
Weather Resistance
Since solar security cameras are often installed outdoors, they should be weather-resistant. Look for cameras with a good IP (Ingress Protection) rating indicating their ability to withstand various weather conditions such as rain, wind, and extreme temperatures. This ensures longevity and reliability in any climate.
How Solar Security Cameras Work: Benefits of Wireless Technology
The Power of Solar Energy
Solar security cameras operate by converting sunlight into electricity through photovoltaic cells located on the camera’s built-in solar panel. This sustainable energy source charges rechargeable batteries, allowing the camera to function continuously without the need for external power sources. The absence of wires simplifies the installation process and reduces the potential for damage or tampering.
Wireless Connectivity
Most solar security cameras utilise wireless technology to connect to your home network. This facilitates easy access to live feeds and recorded footage via mobile applications or web interfaces. Wireless connectivity eliminates the hassle of running cables across your property, providing flexibility in camera placement to maximise coverage.
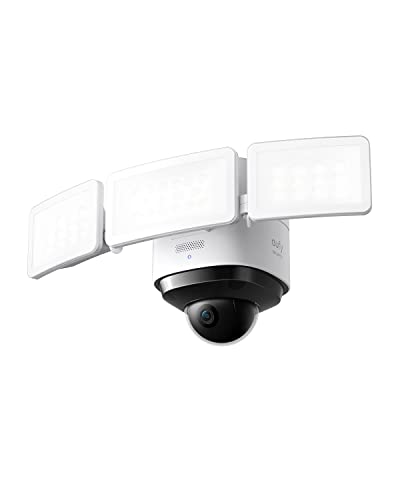
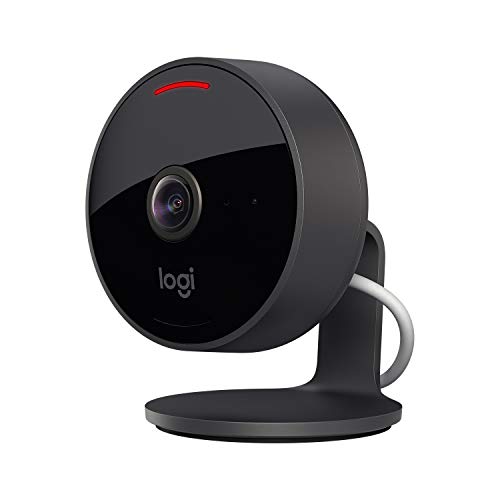
Our Top Picks for Solar Security Cameras: Comprehensive Reviews
Camera A: Essential Features and Performance
Camera A is notable for its robust design and user-friendly interface. It captures crystal-clear 1080p video, features advanced motion detection with immediate alerts, and has a two-way audio system for communication. The solar charging capability ensures it runs continuously even during cloudy days.
Camera B: High-End Choice for Professionals
Camera B stands out with its 4K recording capability and smart AI technology that distinguishes between people and pets. Its night vision is impressive, providing clear images even in complete darkness. Additionally, it offers various storage options, including cloud services for easy access to past recordings.
Camera C: Budget-Friendly Option
For those looking for more affordable solutions, Camera C is a compelling choice. While it offers 720p resolution, its key features include reliable motion alerts and decent night vision. It excels in ease of setup and offers solid performance for basic home security needs without breaking the bank.
Installation Made Easy: A Step-by-Step Guide to Setting Up Your Camera
Gather Necessary Tools and Equipment
Before installation, gather any necessary tools, which typically include a drill, screwdriver, and possibly a ladder depending on the installation height. Review the solar camera’s manual to ensure you have all required accessories and ensure that the camera is charged sufficiently.
Choosing the Right Location
Selecting the perfect location for your solar security camera is crucial. Aim for areas that receive ample sunlight during the day for optimal solar energy generation. Additionally, choose spots that provide a clear view of driveways, entrances, or other vulnerable areas to ensure comprehensive monitoring.
Mounting the Camera
Once you have identified the installation spot, follow the manufacturer’s guidelines for mounting. Most solar security cameras come with brackets or mounts for secure attachment. Make sure to fasten all screws tightly and test the camera stability before finalising the setup.
Connecting to Wi-Fi and Testing Functionality
After mounting, connect your camera to your home Wi-Fi network through the corresponding mobile app or web interface. Follow the prompts for initial setup and ensure the camera is functioning correctly. Perform a visual check by reviewing the live feed to verify image quality and camera positioning. It’s also a good idea to test motion detection and notification alerts to confirm everything is operating as intended.