


Understanding the Benefits of a Watering Indicator: Why Your Plants Will Thank You
Why Watering Indicators Are Valuable
Watering indicators are handy little tools that help us keep track of our plants’ hydration needs. Imagine forgetting to water your houseplants for a week, only to find them wilting and dry. Watering indicators take away that worry; they let you know exactly when it’s time to give your plants a drink. With a simple glance, you can understand the moisture level of the soil, preventing both overwatering and underwatering. Your plants will appreciate this attention and care, leading to healthier growth and vibrant foliage.
Improving Plant Health
Healthy plants thrive in conditions where their watering needs are met consistently. By using a watering indicator, we ensure that our beloved greenery receives adequate moisture without risk of root rot from excess water or stress from dryness. This means plants are more likely to flourish, produce blooms, and even bear fruits, providing us with a sense of satisfaction and success in our gardening pursuits. Using a watering indicator signals to us when our plants are content and thriving.
How to Choose the Right Watering Indicator: Key Features to Look For
Material and Design Considerations
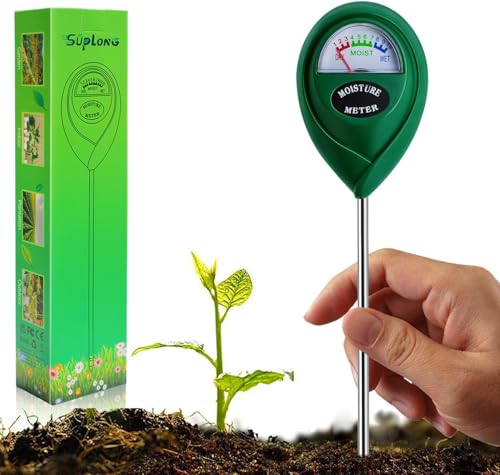
When selecting a watering indicator, consider the materials used. A sturdy design made of durable plastic or eco-friendly materials ensures that the product can withstand outdoor conditions if used in a garden. We should also look for a clear, visual display that suits our needs, whether it be a simple analog gauge or a more complex digital readout.
Size and Compatibility
Different plants require different watering indicators, and it’s essential to choose one that fits well with the pots or garden beds we have. Some indicators are better suited for larger pots while others are designed for smaller indoor plants. Checking the size compatibility with your existing plants will save us from future inconvenience and ensure effective monitoring.
Ease of Use and Maintenance
A user-friendly watering indicator is a joy to work with. We want a model that is easy to install and even easier to read. Consider indicators that don’t require complicated setups or batteries; those that work simply by inserting them into the soil and providing immediate feedback on moisture levels can be highly effective. Maintenance should also be straightforward, allowing us to clean or replace the indicator easily when needed.
Top Watering Indicator Models Reviewed: Our Expert Picks
Best Overall Choice
Our top pick for a watering indicator offers both simplicity and reliability, making it a fantastic option for both beginners and seasoned plant enthusiasts. This model features a large, easy-to-read display and a durable construction tailored for varied climates. Its design allows it to blend seamlessly with garden aesthetics while remaining functional.
Best Digital Indicator
For those who prefer high-tech solutions, the best digital watering indicator is equipped with various features, including a clear digital readout that shows moisture, light, and temperature levels. Its sleek design and advanced settings cater to a range of plant types, making it perfect for anyone who wants to monitor multiple plants accurately.
Best Budget Option
If you’re gardening on a budget, our best value pick provides excellent functionality without breaking the bank. This reliable watering indicator gets the job done, featuring an intuitive design with an easy-to-read dial. It might lack some advanced functionalities but does not skimp on the essential task of helping us care for our plants.
Installing Your Watering Indicator: A Step-by-Step Guide for Beginners
Preparation Before Installation
Before we dive into installation, we need to ensure we have the right environment. Choose a plant or pot that requires the monitoring of moisture levels, and clean the area around the soil to make inserting the indicator easier. Taking note of the size of the pot will also help ensure that we select the correct depth for the indicator.
Installation Process
To install a watering indicator, start by gently inserting it into the soil, making sure not to puncture any roots. The ideal position is approximately halfway down the pot, so the indicator can accurately gauge moisture levels from the root zone. Once inserted, it should be level with the soil surface for easier reading of the moisture gauge.
Initial Calibration and Maintenance
After installation, allow the watering indicator to acclimatise for a few hours. This period will let it calibrate to the moisture levels in the soil accurately. During this time, we can check readings and adjust our watering schedule accordingly. Regular checks will help us become familiar with how quickly the soil dries out and how often we need to water.
Maintaining Your Watering Indicator: Tips for Longevity and Effectiveness
Regular Cleaning and Care
To ensure our watering indicator remains effective, regular maintenance is essential. Cleaning the device periodically prevents any buildup of soil or residue that could affect its readings. A simple wipe with a damp cloth should suffice; just be careful with digital models to avoid moisture damage.
Seasonal Checks for Accuracy
As the seasons change, so might the water needs of our plants. Regularly checking the indicator ensures it continues to provide accurate readings. If we notice anomalies, recalibrating it according to the manufacturer’s instructions will help keep it reliable. Seasonal adjustments can mean the difference between thriving plants and those needing extra care.
Storage Tips
When not in use, we recommend storing watering indicators in a dry, safe place away from direct sunlight. This care will prolong their lifespan and functionality, especially when preparing to use them again in the next growing season. Ensuring they are intact and ready for use will make the planting experience much smoother.