Understanding Wireless Lavalier Microphones: What They Are and How They Work
What is a Wireless Lavalier Microphone?
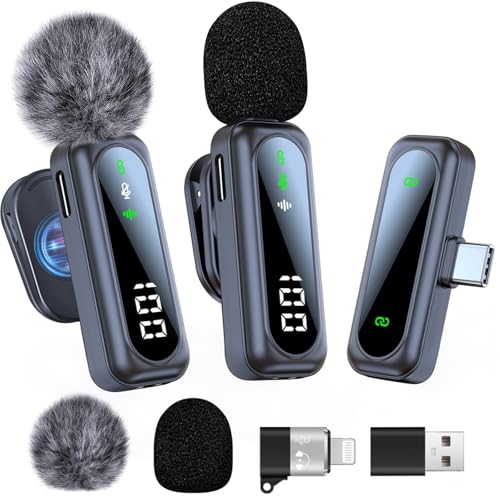
A wireless lavalier microphone, often known as a lapel mic, is a small, clip-on microphone that you can easily attach to your clothing. This type of microphone is commonly used in settings like interviews, presentations, and video shoots because it captures sound clearly while allowing the user to move freely. They function by transmitting audio signals wirelessly to a receiver, which connects to your camera or audio recording device.
How Do They Work?
The way a wireless lavalier microphone works is quite simple yet effective. The microphone itself converts sound waves into electrical signals. These signals are then transmitted wirelessly to a receiver using radio waves. The receiver picks up the signals and sends the audio to your recording device. This means you can capture high-quality sound without the limitations of cables.
Key Features to Look For: Choosing the Right Microphone for Your Needs
Frequency Response and Sound Quality
When choosing a wireless lavalier microphone, we should consider its frequency response range. A good microphone should provide a broad and flat frequency response, ideally from around 20 Hz to 20 kHz, to ensure it captures the full range of human voice without distortion. This is essential for achieving clear and natural sound.
Battery Life and Range
Look for microphones with a long battery life, as this will ensure uninterrupted recording during long sessions. Additionally, the operational range of the microphone is crucial; we generally recommend a range of at least 100 metres for flexibility, especially if you plan on moving away from the receiver during use.
Build Quality and Durability
Since lavalier microphones can often be clipped onto clothing and subjected to movement, durability is an important feature. A microphone with a sturdy build, possibly with weather resistance, would be beneficial if you plan to use it in various environments.
Setting Up Your Wireless Lavalier Microphone: A Step-by-Step Guide
Unpack and Prepare Your Equipment
Start by carefully unpacking your microphone system. Ensure all components, including the microphone, receiver, and necessary cables, are included. We should take the time to read the user manual, as it provides specific setup instructions for the model you’ve chosen.
Connect the Receiver to Your Device
Next, connect the receiver to your recording device, whether it be a camera or audio recorder. Make sure we use the appropriate cables and follow the instructions to ensure a secure connection. Verify that the device is powered on and set to the correct input mode.
Power Up and Sync the Microphone
Now, power on both the microphone and the receiver. Many modern wireless systems allow you to pair the devices automatically; however, some models require manual frequency tuning. Once paired, we should check the levels to ensure adequate audio input without distortion.
Top Wireless Lavalier Microphones: Our Recommendations
Entry-Level Options
For those new to using lavalier microphones, we recommend models that are easy to set up and affordable. Look for options that offer basic features without overwhelming you with complicated settings. Brands that focus on user-friendly interfaces usually provide excellent starting points.
Mid-Range Choices
If you’re looking for something more robust with better sound quality, consider mid-range options that provide good battery life and extended ranges. These models often come equipped with additional features like noise cancellation or manual gain control, making them suitable for more serious audio applications.
Professional Models
For professional use, we suggest investing in high-end wireless lavalier microphones that guarantee superior audio quality, exceptional battery life, and resilience in various environments. These models typically have advanced features like encryption for secure audio transmission.
Maximising Your Audio Quality: Tips for Using Your Microphone Effectively
Positioning Your Microphone
We should always consider the placement of the microphone on your clothing. Ideally, position it about 15-20cm from your mouth, usually around the collar area. This ensures clear sound capture while reducing unwanted noise from clothing.
Monitoring Audio Levels
Using headphones to monitor sound as you record can significantly enhance audio quality. Many receivers have a headphone output, allowing you to listen in real time to ensure that the levels are appropriate and that there is no distortion or interference.
Managing Environmental Noises
To optimise audio quality, we should also pay attention to the recording environment. Try to reduce background noise as much as possible. If you’re in a situation where background sounds are unavoidable, using directional lavalier mics can help by focusing on the speaker’s voice.