


Understanding CPU Coolers: What They Are and Why You Need One
What is a CPU Cooler?
A CPU cooler is an essential component of your computer system, designed to keep your processor from overheating. When your computer is running, the CPU generates heat, and without a proper cooling solution, this heat can accumulate, leading to poor performance or even damage. Think of it like a radiator in a car; just as the radiator keeps the engine cool, the CPU cooler dissipates heat to ensure your CPU runs effectively.
Why Is Cooling Important?
As CPUs become more powerful, they also produce more heat. Without adequate cooling, this heat can cause your computer to throttle its performance or, in extreme cases, lead to crashes or hardware failure. By investing in a good CPU cooler, you ensure the longevity and reliability of your processor, which is particularly vital for users running demanding applications such as gaming, video editing, or 3D rendering.
Types of CPU Coolers: Air Coolers vs. Liquid Coolers
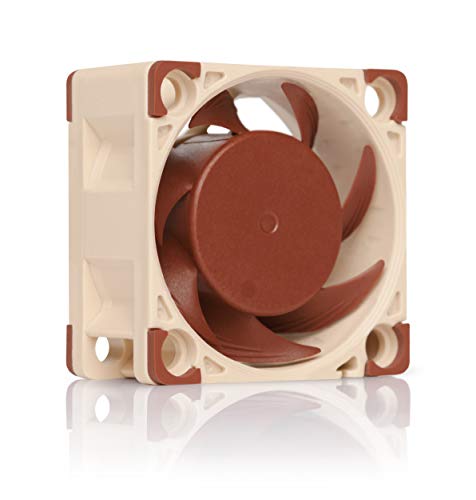
Air Coolers Explained
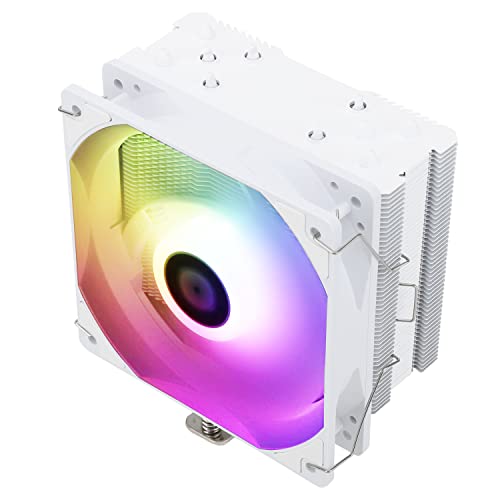
Air coolers, the more traditional option, consist of a heat sink and one or more fans. They work by transferring heat away from the CPU and dissipating it into the air. These coolers are usually easy to install, require little maintenance, and are generally more affordable. If you’re a casual user or someone who is just getting into PC building, air coolers might be the perfect fit.
Liquid Coolers Explored
Liquid coolers, on the other hand, use liquid coolant circulated through a series of tubes to transfer heat away from the CPU. This setup typically yields better thermal performance than air coolers, making them ideal for high-performance systems. They’re also quieter since fans can run at lower speeds. However, they can be more complex to install and may require more maintenance, so keep this in mind if you’re considering this option.
Choosing the Right CPU Cooler for Your Needs: Key Factors to Consider
Processor Compatibility
Before choosing a CPU cooler, ensure it is compatible with your CPU socket. Various coolers are designed for different socket types, and picking the wrong one can lead to poor performance or installation issues. Check your processor’s specifications and choose a cooler that’s designed to fit.
Size and Clearance
The physical size of the cooler is another critical factor. Measure your case’s clearance to ensure the cooler will fit comfortably, especially if you opt for a large air cooler. Some cases may limit your choice to lower-profile models. Liquid coolers often provide more flexibility because of their smaller pump design, but it’s still wise to confirm compatibility with your PC case.
Cooling Performance
Evaluate the cooling performance based on your usage. If you are a gamer or do resource-intensive tasks, a cooler with robust performance will provide better thermal management. Look for specifications regarding the TDP (thermal design power) to ensure the cooler can handle the heat generated by your CPU during heavy loads.
Noise Levels
Noise can be an important consideration, especially for those who work in quiet environments or enjoy silent gaming experiences. Typically, air coolers with larger fans may operate more quietly. If a peaceful computing experience is a priority, look for product reviews that mention low noise levels.
Top CPU Coolers for Gaming and High Performance: Our Recommendations
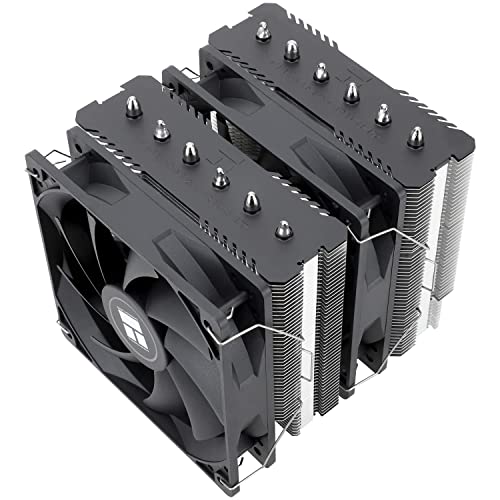
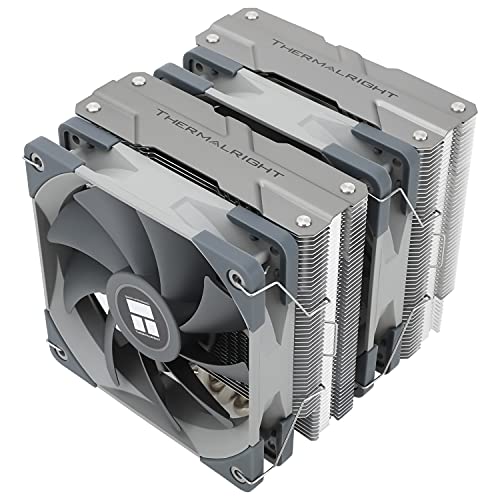
Best Air Coolers
For excellent air cooling, the Noctua NH-D15 stands out as a top contender. Known for its efficient cooling performance and relatively quiet operation, it’s suitable for high-performance builds. Alternatively, the be quiet! Dark Rock Pro 4 offers a balance of aesthetics and outstanding cooling capacity. Both options are perfect for gamers looking to maintain optimal temperatures without breaking the bank.
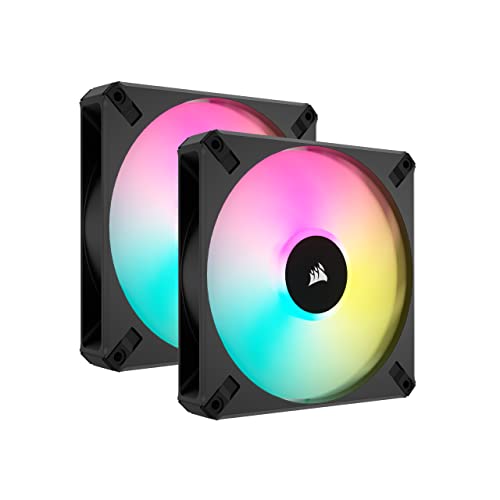
Best Liquid Coolers
If you lean towards liquid cooling, the Corsair H100i RGB Platinum is an excellent choice, offering great thermal performance and appealing RGB lighting. Another solid option is the NZXT Kraken X63, renowned for its effective cooling and sleek design, ideal for anyone looking to boost their system’s profiling, especially in custom builds.
Installing Your CPU Cooler: Step-by-Step Guide for Beginners
Preparing Your Workspace
Before starting the installation process, ensure you have a clean workspace and gather all necessary tools, typically including a screwdriver and thermal paste if required. It’s also good practice to have an anti-static wrist strap to prevent damage to your components.
Installing an Air Cooler
If you’re installing an air cooler, first consult the manufacturer’s instructions, as different models have specific steps. Generally, the process involves attaching the mounting brackets to your motherboard, applying thermal paste if not pre-applied, and securing the cooler over the CPU. Make sure it sits firmly without wobbling.
Setting up a Liquid Cooler
When installing a liquid cooler, start by securing the pump to the CPU, ensuring it’s centered and tightly attached. Next, connect the radiator to the case, typically at the top or front, using screws provided. Finally, connect the fan and pump cables to the motherboard for power. Follow your cooler’s guidelines closely, as placement might vary among different designs.