


Understanding the Importance of a Clear Headlight
Why Visibility Matters
When we drive, having clear visibility is crucial for safety. Over time, headlights can become cloudy due to oxidation or dirt, significantly reducing their efficacy. Imagine driving in rainy or dark conditions; impaired vision can lead to not seeing pedestrians, road signs, or obstacles. Clear headlights enhance not only your safety but also that of others on the road.
Impact on Aesthetics and Resale Value
Beyond safety, clear headlights improve the look of your vehicle. If you’ve ever noticed a car with foggy or yellowed headlights, you might have thought of it as less appealing. If you’re considering selling your vehicle or trading it in, bright and clear headlights can boost its value and attract potential buyers. Better aesthetics can lead to a more enjoyable driving experience.
How a Headlight Polishing Kit Works
The Science Behind Headlight Restoration
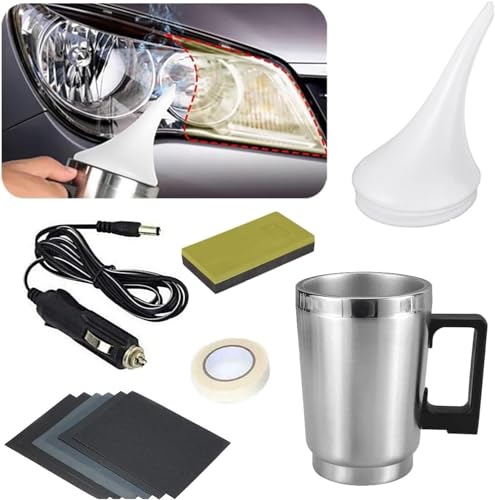
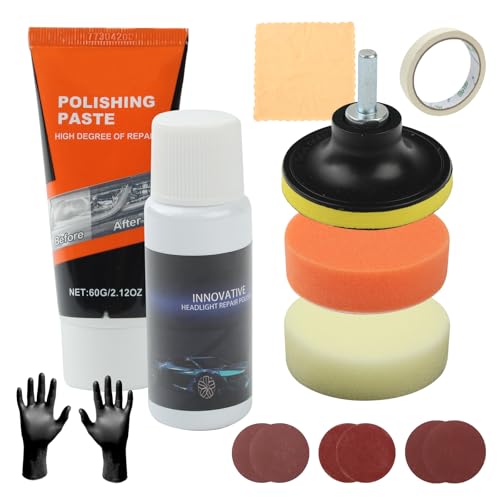
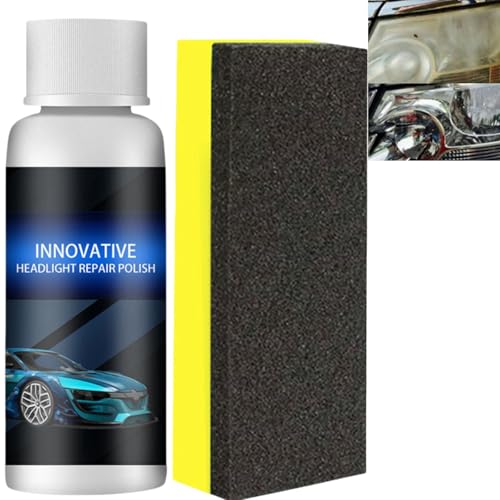
A headlight polishing kit typically includes a combination of abrasive polish and a polishing tool. When used correctly, these products can remove the oxidised layer on the headlight lens, restoring clarity. Think of it like sanding down a rough piece of wood; as you remove the top layers, a smoother, clearer surface emerges.
Benefits of Using a Kit
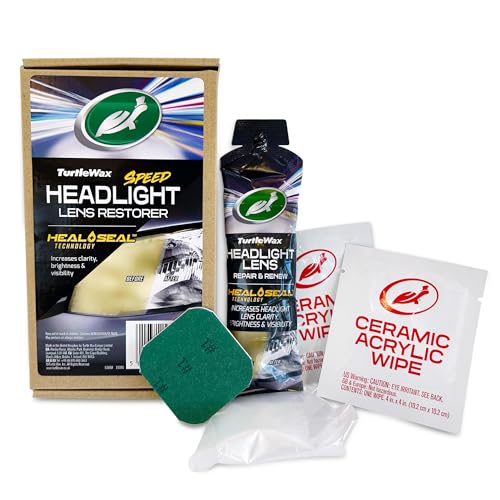
Using a headlight polishing kit is a cost-effective solution compared to replacing the entire headlight assembly. Many kits come with everything you need, making the restoration process accessible even for those with minimal DIY experience. Additionally, most kits can be used in a short amount of time, making it an ideal task for a weekend project.
Step-by-Step Guide to Using Your Kit
Preparing Your Vehicle
Before you start, ensure your vehicle is parked in a shaded area. This prevents the polish from drying too quickly, allowing for better results. Clean the headlights with soap and water to remove any loose dirt or grime.
Using the Polishing Kit
Follow the instructions provided with your polishing kit. Generally, you will apply the polishing compound to the headlight using an applicator or a drill attachment. Work in circular motions to evenly distribute the product. Rinse the headlights and check your results; if there’s still some cloudiness, repeat the process until clarity is achieved. Finally, apply a UV sealant if included, as this helps protect against future oxidation.
Choosing the Right Kit for Your Vehicle
Factors to Consider
When selecting a headlight polishing kit, consider the type of vehicle you have and the severity of the fogging on your headlights. Kits vary in terms of abrasiveness and included tools. If your headlights are only slightly cloudy, a gentle kit may suffice. For heavily oxidised headlights, choose a more robust kit that includes additional sanding pads.
Researching Brands and Products
Don’t hesitate to read customer reviews and comparisons. Look for kits that have positive feedback for ease of use and effectiveness. Some kits come with instructional videos or guides, which can be particularly helpful if you’re new to vehicle maintenance.
Maintenance Tips for Long-Lasting Results
Regular Cleaning and Inspection
To maintain the clarity of your headlights after restoration, clean them regularly with soap and water. During your routine vehicle checks, inspect the headlights for any signs of fading or clouding. This way, you can address any issues before they worsen.
Applying Protective Coating
Consider applying a UV protective coating after polishing your headlights. This will create a barrier against the sun’s harmful rays and reduce the likelihood of future oxidation. Some restoration kits come with this coating, but it can also be purchased separately. Protecting your headlights will ensure they stay clear for much longer.