Understanding Jointing Compound: What It Is and How It Works
What is Jointing Compound?
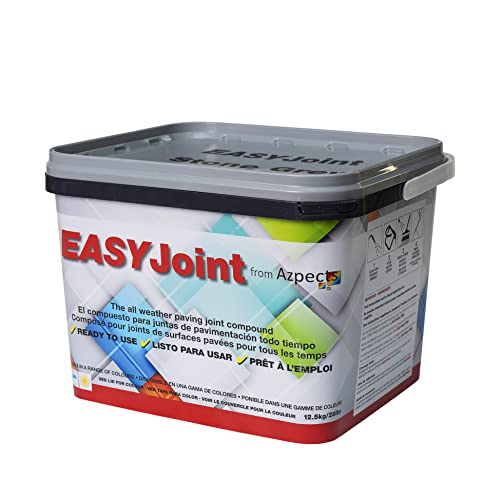
Jointing compound, often referred to as drywall mud, is a versatile material used to finish joints between drywall sheets. It acts as a filler and adhesive, smoothing out imperfections to create a seamless wall surface. Essentially, it provides the necessary bond and filling for the joints, allowing us to achieve a polished look on our drywall installations.
How Does It Work?
When applied, jointing compound dries to provide a smooth surface that we can paint or decorate. Its composition, usually a mixture of gypsum powder and water, allows it to be easily spreadable, enabling us to fill gaps and smooth over tape applied to seams. The compound expands slightly as it dries, ensuring a firm and durable finish.
Types of Jointing Compounds: Which One Is Right for Our Project?
Pre-Mixed vs. Dry Powder
Jointing compounds come in two main forms: pre-mixed and dry powder. Pre-mixed jointing compounds are ready to use straight from the container, saving us time in preparation. They are ideal for smaller jobs or when we need convenience. On the other hand, dry powder compounds require mixing with water before use, typically offering better control over consistency and drying times, making them excellent for larger projects.
Lightweight vs. All-Purpose
We also need to consider whether to use lightweight or all-purpose jointing compounds. Lightweight compounds are easier to handle and sand down, making them suitable for overhead joints, while all-purpose compounds are robust and ideal for filling gaps and finishing seams. If our project involves multiple stages or varied joint conditions, an all-purpose compound may be the better choice.
Application Tips and Techniques: How to Get the Best Results
Preparing the Surface
Proper surface preparation is essential for a successful jointing application. Before we apply, ensuring that the drywall is clean and free from dust maximises adhesion. We should also consider lightly sanding the joints before applying the compound; this helps create a better bond.
Layering for Smoothness
When applying jointing compound, it’s beneficial to work in layers. Starting with a thin first coat allows us to fill the gaps, after which we let it dry before applying a second coat. This approach helps us avoid excess buildup and enables smoother finishing.
Sanding and Finishing
Once the jointing compound is thoroughly dry, we should sand it lightly using a fine-grit sandpaper. This step is crucial for achieving a flawless finish, making the surface ready for painting. Remember to dust off the surface after sanding to ensure nothing disrupts our paint job.
Choosing the Right Tools: Essentials for a Smooth Application
Taping Knives and Floats
Investing in a good set of taping knives and a finishing float is essential for effective application. Taping knives, typically ranging from 10cm to 30cm, help spread the compound smoothly over joints. A finishing float is useful for larger areas, allowing us to create an even smoother surface.
Mixing Tools
Should we opt for dry powder jointing compounds, having a mixing bucket and paddle mixer is highly recommended. This allows us to achieve a consistent mixture without lumps, providing an ideal texture for application.
Maintenance and Care: Ensuring Longevity in Our Jointing Work
Regular Inspection
After finishing our jointing work, regular inspections are key to maintaining the quality of our surfaces. Checking for cracks or signs of moisture can help us catch issues before they evolve into larger problems.
Repairing Damage
If we notice any imperfections or damages down the line, it’s relatively straightforward to repair. Simply clean the area, apply a touch of jointing compound, and follow the standard sanding and finishing steps. Prompt repairs will keep our walls looking their best.


