


Understanding the Basics of Satellite Dish 60m: What You Need to Know
What is a Satellite Dish 60m?
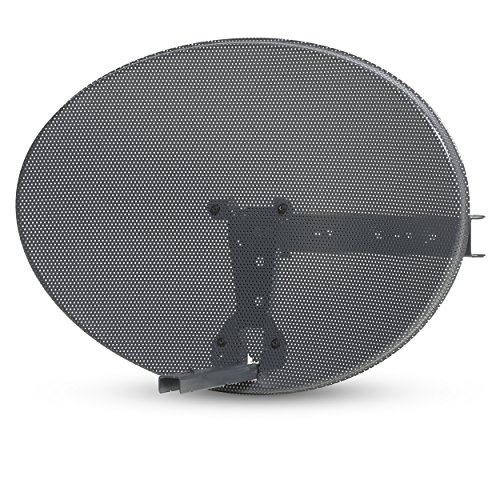
A 60m satellite dish is a type of satellite antenna designed to receive signals from satellites in orbit. The ’60m’ typically refers to the dish’s diameter measured in centimetres. These dishes are popular among users who want access to satellite television, internet services, and other forms of satellite communications. Unlike smaller dishes, a 60m model is excellent for receiving a stronger, clearer signal, especially in regions with challenging reception conditions.
How Does a Satellite Dish Work?
In simple terms, a satellite dish collects signals transmitted from satellites and sends them to a receiver inside your home. The dish’s curved surface gathers the signals and reflects them towards a focal point, which houses the Low Noise Block (LNB) converter that processes these signals. Once the signals are converted, they can be decoded by your receiver to access your desired content. Understanding this basic operation helps you see why the dish size matters when it comes to signal quality.
Key Features to Consider When Choosing a Satellite Dish 60m
Signal Strength and Quality
When selecting a satellite dish, it’s essential to consider its ability to capture signals effectively. A 60m dish is usually a great choice for users in areas with less reliable weather or geographical limitations. The larger surface area enhances its performance, allowing it to pick up signals that smaller dishes may struggle with, particularly in adverse weather conditions.
Material and Durability
The material of your satellite dish plays a critical role in its longevity and performance. Most dishes are made from high-quality metals or plastics that resist rust and corrosion, ensuring they withstand various weather conditions over time. Choosing a dish with a solid construction means you won’t have to worry about replacing it frequently, especially if you live in a more demanding environment.
Mounting Options and Installation Requirements
Understanding the various mounting options available can significantly affect your installation experience. A 60m satellite dish may offer different types of mounts such as pole mounts or wall mounts, so consider where you plan to install the dish. Additionally, some dishes come with easy-to-follow installation guides, which makes the process smoother and less intimidating for first-time users.
Top Recommendations for Satellite Dish 60m: Our Picks for Every Budget
Best Value for Money
For those looking for reliability without breaking the bank, we recommend the Xtreme Vision 60m Satellite Dish. It offers robust performance at an affordable price, making it a top pick for budget-conscious consumers. It’s lightweight yet durable, and it includes clear mounting instructions.
Premium Option for Ultimate Performance
If you’re willing to invest a bit more for superior quality, we recommend the Astra SAT 60m Dish. This premium dish is designed for optimal signal reception, even in challenging weather conditions. It also boasts a sleek design that will complement any home setup while ensuring you enjoy uninterrupted viewing.
Best for Aesthetics and Design
For consumers prioritising aesthetics, the Stylish 60m Satellite Dish is a fantastic choice. Available in various colours, this dish doesn’t just perform well but also enhances the visual appeal of your home. It maintains strong signal quality and comes with a quality warranty.
Installation Made Easy: A Step-by-Step Guide for Your Satellite Dish 60m
Gather Your Tools and Materials
Before you start the installation, it’s crucial to gather all the necessary tools. Typically, you’ll need a drill, a screwdriver, a meter for measuring, and maybe a ladder for reaching the higher installation points. Being well-prepared can make the process a lot smoother.
Choose the Right Location
Select a suitable location for the dish installation, ideally a high area free from obstructions like trees, buildings, or other potential barriers. South-facing positions often work best in the UK as this aligns better with satellite paths.
Mount the Dish Securely
Follow the specific mounting instructions that come with your dish. Usually, this involves attaching the dish bracket securely to your chosen mounting surface. Ensure it is stable, as a wobbly installation can lead to poor signal reception.
Connect the Cables and Align the Dish
After securing the dish, connect the cables according to the manufacturer’s instructions. You’ll generally need to connect an LNB to the dish and run a cable to your receiver. Once connected, you’ll need to adjust the dish’s angle slightly until you achieve the best signal strength, which some satellite receivers can help you with.
Maximising Your Signal: Tips for Optimising Your Satellite Dish 60m
Fine-Tuning Your Dish Angle
To obtain the best possible signal, take the time to adjust the angle of your dish. Even a slight shift can result in noticeable improvements in signal strength. Experiment with different angles, and use your satellite receiver to monitor signal changes accordingly.
Regular Maintenance and Cleaning
Keeping your satellite dish clean is vital for maintaining signal quality. Over time, dirt, debris, and weather conditions can obstruct the dish’s surface. Regular checks and a simple cleaning routine can help ensure optimal performance throughout the year.
Stay Updated on Satellite Frequencies
Satellites frequently alter their frequencies, which may affect your service. Keep informed about any changes from your satellite provider. Sometimes, re-scanning your channels or making adjustments will enhance your viewing experience.


