Understanding Scratch Removers: What You Need to Know
What is Scratch Remover?
Scratch removers are specially formulated products designed to eliminate or lessen the appearance of scratches and scuffs on various surfaces, primarily automotive finishes. When we park our cars, our vehicles often encounter minor mishaps – be it a stray shopping cart, a nail against a wall, or even the keys slipping from our hands. These incidental scratches can detract from the appearance of your vehicle, leading many of us to seek a solution that restores that sleek finish.
How Do They Work?
Scratch removers work by using mild abrasives or chemical polishes to smooth out the scratched area and blend it with the surrounding paint. When applied correctly, these products essentially level the surface, making scratches less visible, and restoring the shine of your vehicle. The magic lies in the formulation of the product – some contain fine abrasives while others might leverage polymers to fill in the scratches. It’s crucial for us to understand that these products can only do so much; deeper scratches may require professional intervention.
Types of Scratch Removers: Which One is Right for You?
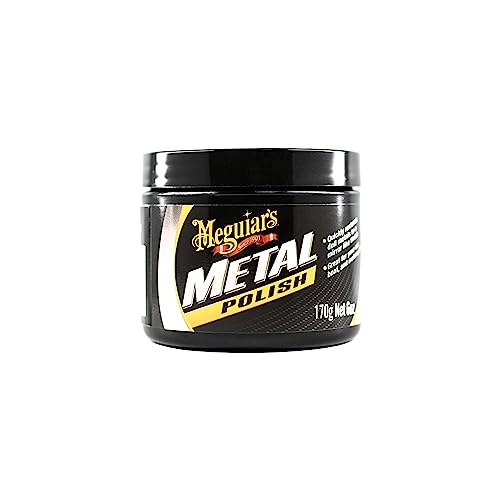
Polishing Compounds
Polishing compounds are among the most common types of scratch removers. They work by gently buffing the surface to blend the scratched area with the rest of the paintwork. Ideal for light scratches that haven’t penetrated the paint layer, these products give a lustrous finish. Therefore, if we’ve got just a few minor scratches, applying a polishing compound may suffice.
Scratch Repair Kits
For those who face deeper or more stubborn scratches, scratch repair kits may be the answer. These kits typically come with a variety of products including sandpaper, polish, and clear coat sealant. If we are willing to invest a bit more time and effort, scratch repair kits can provide outstanding results, restoring the finish almost completely.
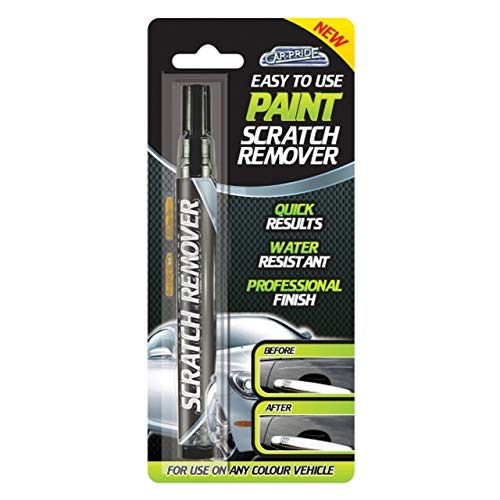
Liquid Scratch Removers
Liquid scratch removers are easy to apply, usually contained in a small bottle with a convenient applicator. They work best on surface scratches and provide a quick fix for those who want instant results with minimal effort. While these might not have the same level of depth as other methods, they can be very effective for minor blemishes.
How to Choose the Best Scratch Remover for Your Needs
Assessing the Damage
The first step in choosing the right scratch remover is to assess the damage on your vehicle. It’s essential for us to evaluate whether the scratches are merely surface-level or if they penetrate deeper. A simple test is to run your fingernail over the scratch – if your nail gets caught, it’s likely that the scratch has penetrated the clear coat, and a more intensive repair method may be necessary.
Surface Type
Different surfaces require different approaches. If we’re dealing with a painted surface on a car, certain products are designed specifically for automotive finishes. Other surfaces, like plastic or glass, may require specialised scratch removers. Knowing the surface type will help guide our choice and ensure we select a compatible product.
Ease of Use
For those who favour convenience, it’s worth looking into the ease of application of various products. Quick and straightforward options allow for fast touch-ups, while more comprehensive kits may require additional tools and a longer application process.
Step-by-Step Guide to Applying Scratch Remover
Preparation is Key
Before we get started, it’s important to gather our materials: the scratch remover, microfiber cloths, and possibly some water. Clean the area around the scratch with soap and water, then dry it off. A clean surface is imperative for optimal results, so we should take a moment to ensure we’ve eliminated any dirt or debris.
Application Process
Once we’ve prepared the surface, we’ll apply the scratch remover according to the product instructions. Typically, this involves dabbing a small amount onto a microfiber cloth and working it into the scratch using circular motions. For deeper scratches, we might need to let the product sit for a specific duration before buffing it off. It’s important to be patient and thorough in our application.
Polishing to Shine
After buffing off the scratch remover, we should check the area for any remaining imperfections. If necessary, repeat the application until we achieve the desired result. Finally, to restore that showroom shine, we can apply a good quality wax over the area once the scratch remover has fully dried.
Maintaining Your Finish After Using Scratch Remover
Regular Washing and Waxing
To keep our vehicle looking its best after applying scratch remover, we need to establish a regular car care routine. This includes washing the car frequently to remove grime and contaminants that can cause further scratches. Additionally, applying a layer of wax every few months will not only protect the paint but also enhance the shine.
Avoiding Unnecessary Risks
Taking simple precautions can help maintain our vehicle’s aesthetics. When parking, we should choose spots that are away from potential hazards like shopping carts or tight spaces. This mindful behaviour can significantly reduce the chances of incurring additional scratches.
Monitoring for Damage
Lastly, regular inspections are vital. By routinely checking for any new scratches or blemishes, we can address them early with appropriate products. Being proactive in maintaining our vehicle will ensure that it remains in great shape and retains its value over time.