


Understanding Tile Levelling Systems: A Simple Guide for DIY Enthusiasts
What is a Tile Levelling System?
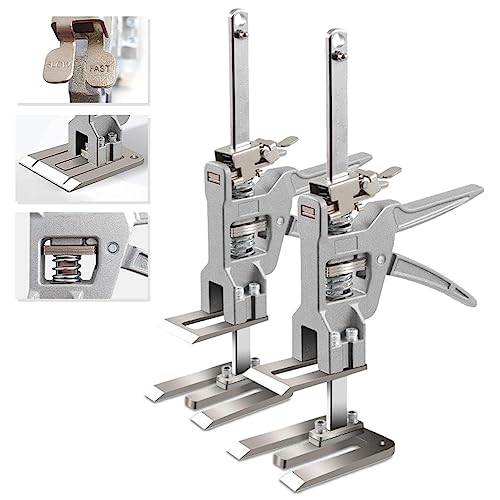
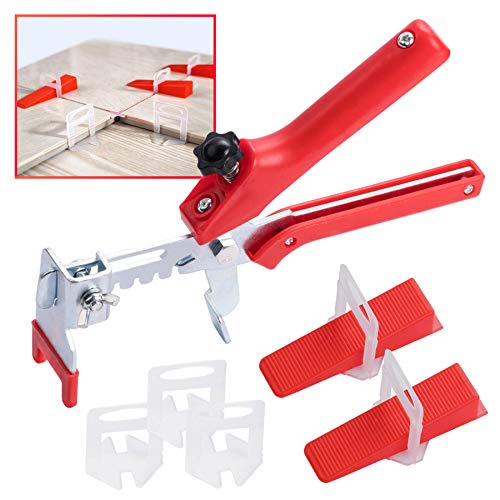
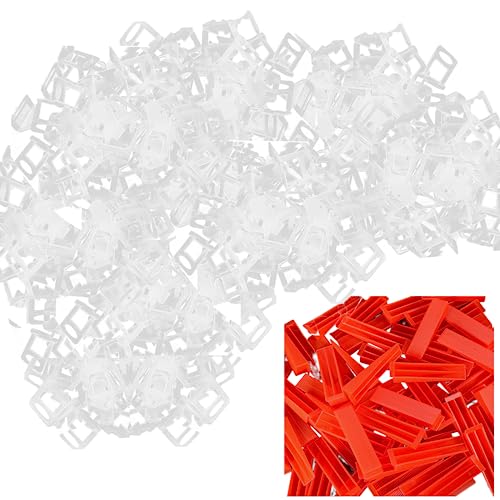
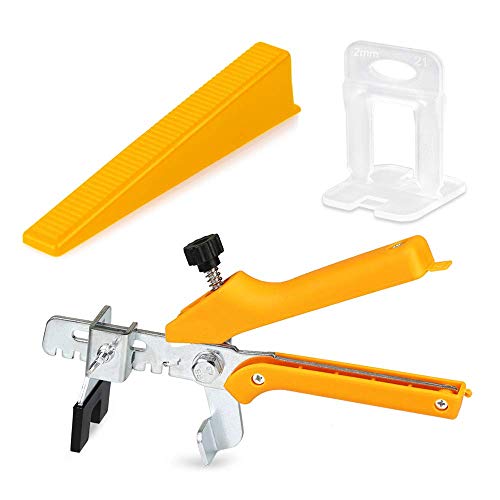
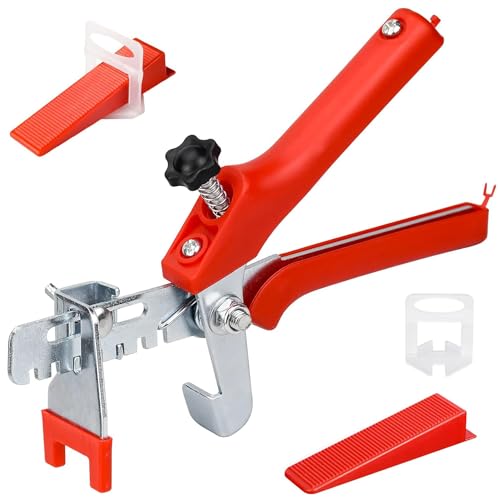
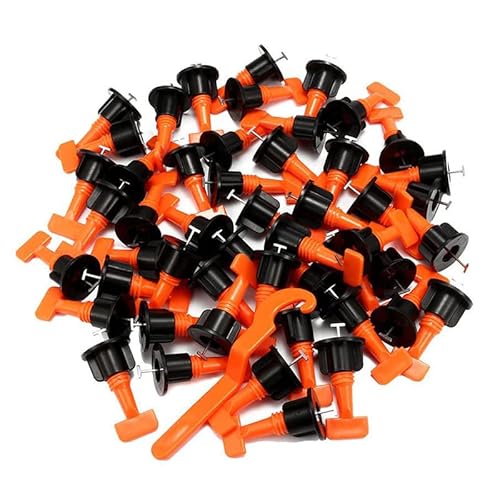
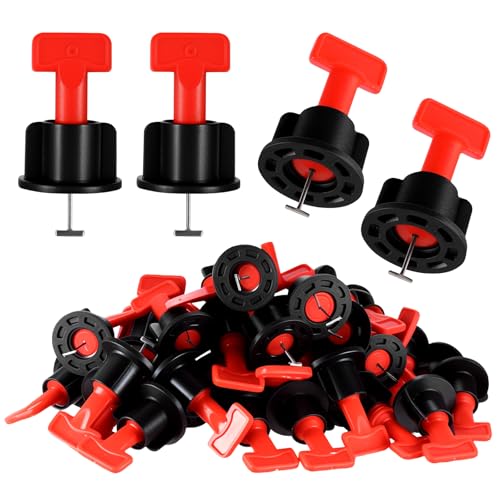
A tile levelling system is an innovative tool designed to help achieve an even and level surface when laying tiles. Imagine you are trying to install a new floor in your kitchen; without a level surface, your tiles could end up uneven, causing unsightly gaps or, worse, making the floor unsafe. This is where tile levelling systems come in. They consist of clips and wedges (or similar components) that hold the tiles in place while the adhesive cures, ensuring that your tiled surface will be smooth, flat, and perfectly aligned from the start.
The Benefits of Using Tile Levelling Systems
Using a tile levelling system offers several advantages. First, it minimizes the risk of lippage, which is when the edges of adjacent tiles are uneven, leading to a bumpy surface. Second, it enables quicker tile placement as you won’t need to constantly adjust tiles to achieve a level surface. Lastly, it also allows for a more professional-looking finish. By ensuring each tile sits at the same height, the overall appearance is vastly improved, leaving you with a flawless final result that you can be proud of.
How To Choose the Right Tile Levelling System for Your Needs
Consider Tile Type and Size
The type and size of tiles you plan to use will significantly affect your selection of a tile levelling system. For larger tiles, a robust system with strong clips is essential to support their weight and size. Think of it like supporting a large piece of furniture; the right kind of support prevents tipping and maintains balance. For smaller tiles, you might opt for a simpler system as the weight distribution is less of an issue.
Evaluate the Project Size
Consider how extensive your tiling project is. For smaller rooms, a basic system may suffice, but larger installations, like a spacious living room or commercial space, may benefit from a higher-end, more comprehensive system. Envision gearing up for a marathon versus a sprint; the longer the duration of your project, the more robust the system should be to maintain consistent results.
Budget Considerations
Always take into account how much you are willing to spend. Tile levelling systems can vary in price from budget-friendly options to premium selections. Determine what features are essential for you and how they align with your budget. Ideally, choose a system that balances quality and affordability to get the best return on your investment.
Step-by-Step Process: Installing Tiles with a Levelling System
Preparation of the Surface
Before installing your tiles, ensure that the floor or wall surface is clean, dry, and free from debris. This preparation is crucial; a dirty surface can lead to poor adhesion, affecting the entire project later on. Think of it as prepping your canvas before painting—any flaws can affect the final masterpiece.
Setting the Tiles
Once your surface is ready, start applying adhesive to a small section. Lay the first tile down, pressing firmly into the adhesive. This is where your levelling system comes into play. Insert the clips at the corners of the tile as you lay subsequent tiles, placing them in the designated spots to maintain a consistent height. This is like setting your foundation; the better aligned and level your tiles are from this point, the easier and more successful your entire tiling job will be.
Finishing Touches
After tiling, insert the wedges into the clips to tighten and secure the position of the tiles. Wait for the adhesive to dry according to the manufacturer’s instructions before removing the clips and wedges. Taking it step-by-step ensures that you do not rush the process, allowing the tiles to set properly and avoid mistakes.
Essential Tips for Achieving a Perfect Finish with Tile Levelling
Consistency is Key
When laying tiles, make sure to keep a consistent pattern and spacing throughout your project. Adjusting the tile position even slightly can result in noticeable inconsistencies later. We recommend using spacers to help maintain gaps for grout, which is crucial for aesthetics and function.
Check for Level Frequently
Regularly check the level of your tiles as you progress. It’s easy to lose track of the levelness when you’re deeply focused on laying tiles. A simple level tool can help ensure that your tiles remain perfectly flat and aligned as you work. This practice ensures that you don’t have to make major adjustments after the adhesive sets, saving you time in the long run.
Grouting and Sealing
Once your tiles are set and the adhesive has dried, grouting is the next step. Select a high-quality grout to fill in the gaps between the tiles, and be sure to seal it if necessary. Sealing protects against moisture and staining, particularly in high-traffic or wet areas. By taking the time to complete this crucial step, your finished surface will not only look great but will also be more durable and easier to maintain.
Maintenance and Storage: Getting the Most Out of Your Tile Levelling System
Cleaning Your Tile Levelling Tools
After completing your project, it’s essential to clean your levelling components thoroughly. Wash any clips and wedges to remove adhesive residue. This will enable them to be reused for future projects, saving you money in the long term. Just like keeping your tools in good shape allows for smoother work, maintaining your levelling system enhances its longevity.
Proper Storage Techniques
Store your tile levelling system in a dry place, away from direct sunlight or extreme temperatures. Keeping the components in a designated box will protect them from damage and ensure they remain in the best possible condition for your next project. Think of your tools as a collection of fine art; proper storage helps preserve their quality.
Evaluating and Upgrading Your System
As you develop your skills in tiling, you may find that your needs evolve. Take the time to assess whether your current tile levelling system continues to meet your expectations. Don’t hesitate to upgrade to a more sophisticated model if it means achieving results that are closer to your vision. Just as a craftsman refines their tools, so too can you upgrade your system to enhance your projects.