

Understanding Video Grabbers: What They Are and How They Work
What is a Video Grabber?
A video grabber is a device that allows you to capture video content from various sources, such as DVDs, VHS tapes, cameras, or live TV, and transfer it to your computer or another storage medium. Imagine wanting to digitise old family videos stored on VHS tapes so they can be shared with loved ones or edited for a personal project. A video grabber bridges the gap between these analog formats and digital storage, ensuring memories are preserved in a modern format.
How Do They Work?
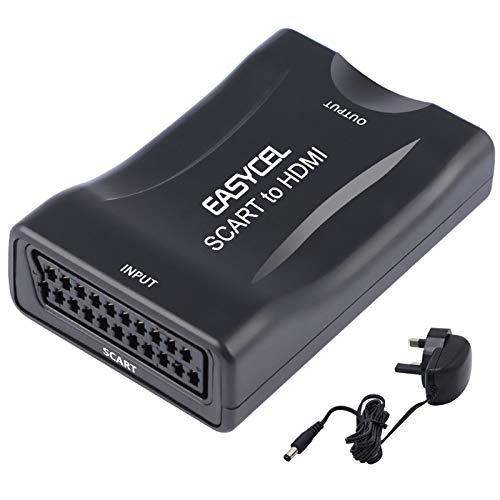
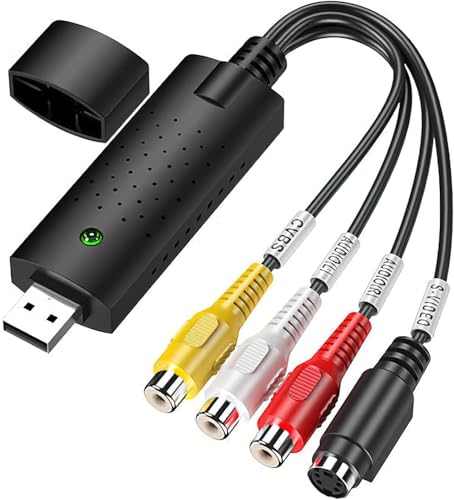
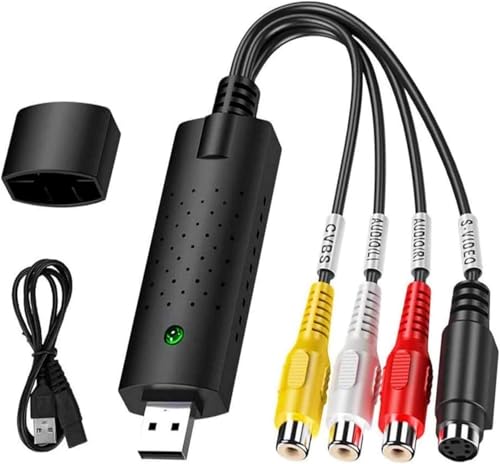
Typically, a video grabber connects to your video source via specific input ports, such as USB, HDMI, or composite cables. As you play the video on your source device, the grabber captures the video signal and converts it into a digital format that your computer can understand. This process often involves software that facilitates the transfer, allowing you to preview, edit, or save the video. Picture it as a translator: the video grabber translates the language of analog video into one your computer can read.
Choosing the Right Video Grabber: Key Features to Consider
Compatibility with Devices
When looking for a video grabber, ensure it is compatible with the devices you plan to use it with. Check if the grabber works with your operating system, whether it be Windows or macOS, and if it can connect to your specific video sources such as older camcorders or modern gaming consoles. The right compatibility ensures that you won’t encounter frustrating barriers when trying to capture your video.
Video Quality and Resolution
The video quality is another crucial factor. Most grabbers will specify the maximum resolution they can handle, which can range from standard definition (SD) to high definition (HD) or even 4K. If you want to preserve the original quality of your videos, especially for professional use or high-quality personal projects, look for a grabber that supports higher resolutions.
Ease of Use and Software
Consider how user-friendly the setup and operation of the video grabber is. Some models come with proprietary software that simplifies the capture process, allowing for basic editing and direct saving to your computer. Others might require more technical knowledge. A straightforward interface can significantly enhance your experience, especially if you’re a beginner.
Portability and Design
If you plan to use your video grabber in different locations, its portability may be a crucial consideration. Some devices are compact and lightweight, allowing for easy transport. Additionally, consider the design: a grabber with sturdy build quality and simple connections can make the transferring process smoother.
Top Video Grabber Models: Our Recommendations
Budget-Friendly Option
For those seeking a cost-effective solution, a popular budget-friendly video grabber offers decent quality and essential features. It connects easily to most devices and is ideal for personal use, especially if you’re digitising family videos. While it may not support the highest resolutions, it is perfect for basic capturing needs.
Mid-Range Choice with Enhanced Features
A mid-range video grabber strikes a balance between affordability and advanced functionality. It typically includes support for higher resolutions and better software options, making it suitable for hobbyists who want more control over their projects. Users appreciate its ease of use and the quality of output it provides.
Professional-Grade Model
For professionals or enthusiasts who require superior quality, a high-end video grabber is the best choice. This model often supports 4K resolution and includes advanced editing software. It’s designed for those who need to produce high-quality content, ensuring that every detail is captured and stored accurately.
Setting Up Your Video Grabber: A Step-by-Step Guide
Gather Your Equipment
Start by gathering all necessary equipment: your video grabber, connecting cables, and the source device from which you want to capture video (such as a VHS player or camera). Ensure you have a computer on hand with enough storage space for your video files.
Connect Your Video Sources
Connect the video grabber to your computer as per the instructions provided with the device. For instance, if you’re using a USB grabber, plug it into an available USB port. Next, connect your video source to the grabber using the appropriate cable. If you have a VHS player, this might mean connecting via composite cables.
Install Necessary Software
Install any software that comes with the video grabber on your computer. This will usually include drivers and a video capture application. Follow the prompts during the installation process, which typically includes allowing the software to access your video sources.
Start Capturing Video
Once everything is set up, open the software, and follow the on-screen instructions to start capturing your video. You might want to play your video source beforehand to ensure it’s being detected correctly. With the software running, you can usually see a preview of the video before you commence the capture.
Getting the Most Out of Your Video Grabber: Tips and Tricks
Check Connections Regularly
Ensure all connections are secure before starting a capture session. Loose cables can result in interrupted signals, which may affect the video quality. Regular checks help you avoid common pitfalls.
Use Proper Editing Software
After capturing your video, consider using editing software to enhance the footage. Many video grabbers come with basic editors, but exploring more robust software can open up creative possibilities for your videos. Look for software that integrates easily with your grabber.
Explore Formats and Compression
Familiarising yourself with different video formats and compression settings can improve workflow. Depending on your needs, you might want to save videos in different formats for sharing or storage. Understanding these options can help maintain the quality while managing file sizes.