Understanding Wallpaper Removers: What They Are and How They Work
What is Wallpaper Remover?
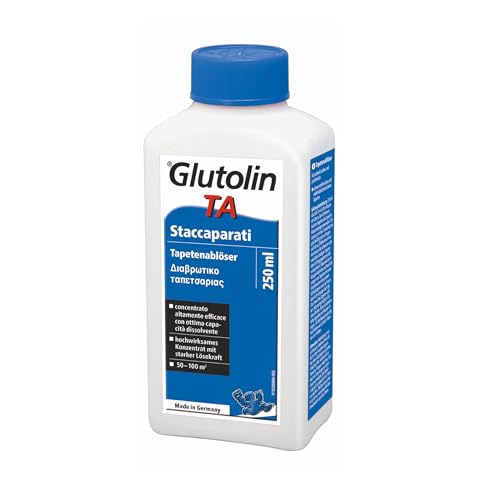
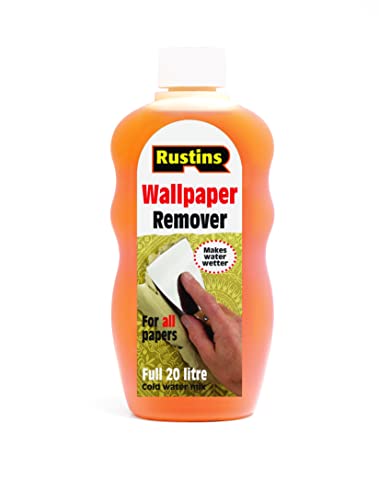
Wallpaper removers are specially designed products that help you detach wallpaper from your walls without causing damage to the surface underneath. They typically come in either liquid form or sheets. Liquid removers react with the adhesive holding the wallpaper in place, softening it to make peeling off the wallpaper easier. Understanding how they work is crucial, as choosing the right type based on your wallpaper’s adhesion can significantly improve your removal experience.
The Science Behind Wallpaper Removal
When you apply a wallpaper remover solution, it penetrates through the top layer of wallpaper and effectively breaks down the glue underneath. There are different formulas available depending on the wallpaper material—some solutions are designed for vinyl wallpapers, while others are better for paper ones. By understanding the science behind these removers, we can better appreciate their role in simplifying what could otherwise be a laborious task.
Types of Wallpaper Removers: Choosing the Right One for Your Needs
Liquid vs. Dry Removers
There are two main categories of wallpaper removers: liquid and dry. Liquid removers are often mixed with water and can be sprayed or applied with a sponge onto the wallpaper. They are beneficial for removing stubborn wallpaper quickly. Dry removers on the other hand, often come in sheets and can work effectively with less mess, adhering directly to the wallpaper surface and helping lift it off with minimal effort.
Special Considerations for Different Wallpapers
Not all wallpapers are created equal; hence the type of wallpaper remover should align with the wallpaper type. For instance, vinyl wallpapers generally require a specific adhesive-removing formula, while traditional paper wallpapers can often be removed with a simple soapy water solution. Therefore, assessing the type of wallpaper will guide us in selecting the most efficient remover for our project.
DIY Wallpaper Removal: Step-by-Step Guide for a Smooth Process
Preparing the Room and Materials
Before we begin the removal process, it’s wise to prepare the room. Move furniture away from the walls and cover the floors with drop cloths. Gather our materials: the selected wallpaper remover, a spray bottle or sponge, a scraping tool, and a bucket of warm water. Proper preparation sets the stage for an efficient removal experience.
Applying the Remover
Once the room is ready, we can apply the wallpaper remover directly to the wallpaper. For liquid removers, use a spray bottle to saturate the wallpaper thoroughly. Let it sit for the time indicated on the product—usually from 10 to 30 minutes—allowing the solution to break down the adhesive effectively.
Scraping Off the Wallpaper
After waiting, we can begin scraping off the wallpaper. Use a putty knife to gently pry off the edges and peel the wallpaper away from the wall. Take care to pull it in a steady angle to reduce tearing, and reapply the remover if any stubborn areas resist. Patience here pays off.
Essential Tips for Effective Wallpaper Removal: Tools and Techniques We Recommend
Choosing the Right Tools
Having the right tools is crucial. A sharp utility knife and a dedicated wallpaper scraper will make our life easier. A sponge or brush for applying the liquid remover ensures an even distribution, while a bucket makes mixing solutions easy. These tools are essential in our arsenal to tackle wallpaper removal efficiently.
Techniques for Quick and Neat Removal
Utilise techniques such as a scoring tool for textured wallpapers—a tool that creates small holes in the surface, allowing the remover to penetrate better. Always work from the top down, and remember to apply the remover in sections for better control. Keeping the workspace organized also aids in a smooth process.
Post-Removal Preparation: Preparing Your Walls for New Decor
Cleaning the Walls After Removal
Once the wallpaper is off, our job isn’t done yet. The walls will likely have leftover adhesive that’s crucial to remove before new paint or wallpaper can go on. Use warm, soapy water and a sponge to wash down the walls. This step ensures the surface is clean, allowing any new decor to adhere properly.
Assessing Wall Damage and Repairs
After cleaning, take a close look at the walls for any damage such as holes or cracks. Filling these with spackling paste and lightly sanding them down creates a smooth surface. Addressing these minor repairs ensures that our new decor looks fantastic and lasts longer.


