Understanding the Different Models of Anycubic 3D Printers
A Deep Dive into the Variety of Models
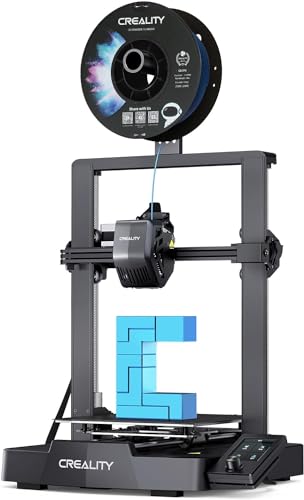
When we explore Anycubic’s range of 3D printers, we encounter several models, each designed for different needs and levels of expertise. For instance, if you’re a beginner, you might find the Anycubic i3 Mega particularly appealing due to its user-friendly interface and ease of setup. It boasts a large build volume, making it versatile for various projects. On the other hand, seasoned users might gravitate towards the Anycubic Chiron or the Anycubic Predator, both of which offer larger build spaces and advanced features, allowing for intricate designs and creations. Each model is tailored to offer specific advantages, whether that’s ease of use, print quality, or build volume.
Selecting the Right Model for Your Skill Level
Choosing the right model depends significantly on your familiarity with 3D printing. If you see yourself diving into the world of 3D printing with little experience, starting with an entry-level model like the Anycubic i3 Mega will give you a gentle introduction while still allowing for high-quality prints. Conversely, if you have some understanding of 3D printing and seek to expand your capabilities, models like the Anycubic Mega S or the Anycubic Kobra could be beneficial, offering more features like auto-bed leveling and enhanced print speeds.
Key Features to Look for in Your Anycubic 3D Printer
Identifying Essential Features for Your Prints
When considering which Anycubic printer to purchase, focusing on key features can significantly enhance your printing experience. One critical aspect is the build volume. A larger build volume allows us to print bigger models or multiple smaller ones simultaneously. Additionally, we should pay attention to the printer’s layer resolution. A printer that supports low layer heights will yield more detailed and smoother prints, which is crucial for intricate designs.
Understanding Connectivity and Ease of Use
Another important feature is connectivity. Most Anycubic printers offer USB and SD card options, but Wi-Fi connectivity can be a game changer, streamlining the process of sending files directly to your printer. Simplicity in assembly and user interface is vital, especially for beginners; models that come nearly assembled or have straightforward setup processes make for a much more pleasant user experience.
Setting Up Your Anycubic 3D Printer: A Step-by-Step Guide
Unboxing and Initial Preparations
As we prepare to set up our Anycubic 3D printer, the first step is unboxing and ensuring we have all the necessary components. Carefully remove each part and check against the included manual to ensure nothing is missing. Once we have everything laid out, we can move to assemble the printer. Most models come with clear instructions, often featuring pictorial guidance, making this phase relatively hassle-free.
Calibrating Your Printer for Optimal Performance
After assembly, calibration is next. This involves leveling the print bed, an essential step for ensuring prints adhere correctly and come out as expected. We can usually achieve this by adjusting the bed screws or using the built-in auto-leveling features if available. Following calibration, it’s wise to do a test print using a simple model to confirm everything functions correctly before embarking on your detailed projects.
Materials vs. Applications: Choosing the Right Filament for Your Projects
Understanding Filament Types
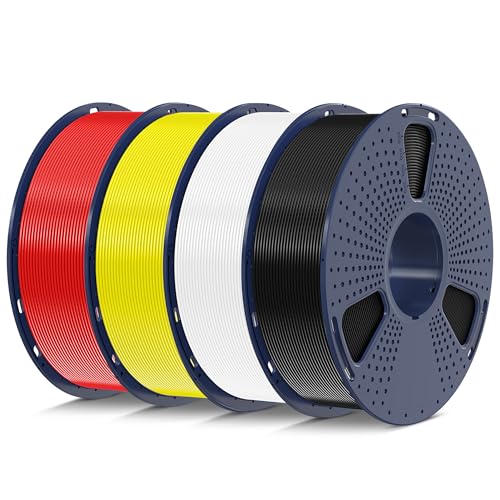
Selecting the right filament is just as crucial as choosing the 3D printer itself. Common materials include PLA, ABS, and PETG, each suited for varying applications. For example, if we want to create decorative items or prototypes, PLA is an excellent choice due to its ease of use and vibrant colour options. However, for functional parts that require durability, like mechanical components, ABS might be the better option because of its higher temperature resistance.
Matching Filament to Your Project Needs
Moreover, we should consider the filament’s properties concerning our project’s needs. For outdoor use, UV-resistant filaments or those like ASA may hold up better against the elements. If flexibility is required, TPU or other flexible filaments will allow for bending without breaking. Knowing what materials work best for what purposes will empower us to make informed choices.
Maintenance and Tips for Getting the Most from Your Anycubic 3D Printer
Routine Maintenance Practices
To keep our Anycubic 3D printer in excellent condition, regular maintenance is essential. This includes cleaning the nozzle to prevent clogs, checking the belt tension, and ensuring the print bed remains level. Additionally, we should periodically inspect the mechanical components for wear and tear, addressing issues promptly to prevent them from escalating.
Maximizing Your Printing Experience
Lastly, optimising our printing experience involves understanding temperature settings and experimenting with various speed settings for different filaments. Each filament has its ideal print temperature, and adjusting settings accordingly can vastly improve print quality. Taking time to fine-tune our printer through these adjustments will lead to lasting satisfaction with our prints.