


Understanding Handlebar Tape: What It Is and Why It Matters
What Is Handlebar Tape?
Handlebar tape is a material wrapped around the handlebars of a bicycle, designed to enhance grip, comfort, and control while riding. It serves as both practical padding and an aesthetic element, allowing cyclists to express their style. Effective handlebar tape can make a notable difference in your riding experience, especially on long journeys where comfort is paramount.
The Importance of Handlebar Tape
The right handlebar tape can significantly improve your grip and comfort on the bike. It helps absorb vibrations from the road, reducing fatigue on your hands and arms. Additionally, high-quality tape can prevent slipping in wet conditions, providing reliable control. Understanding handlebar tape’s role can lead to a more enjoyable and safer ride.
Types of Handlebar Tape: Finding the Right Fit for You
Cork vs. Foam vs. Rubber
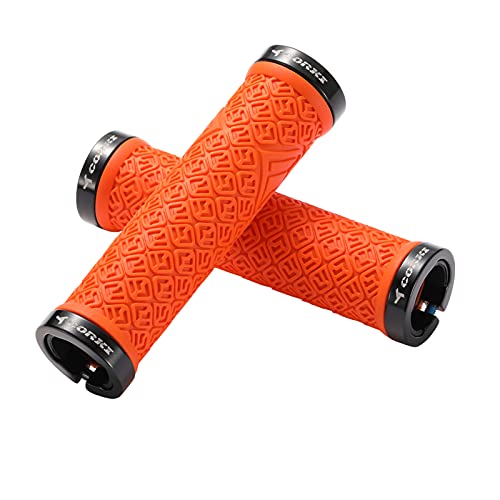
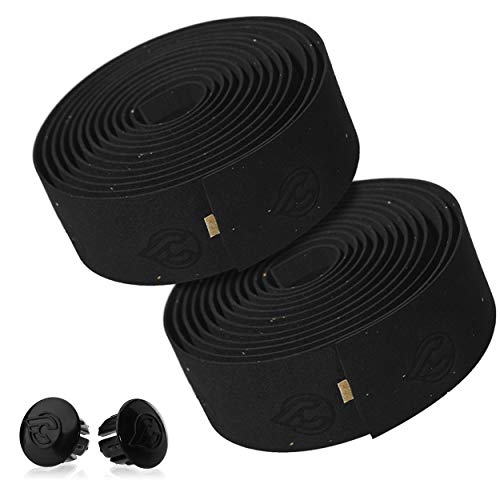
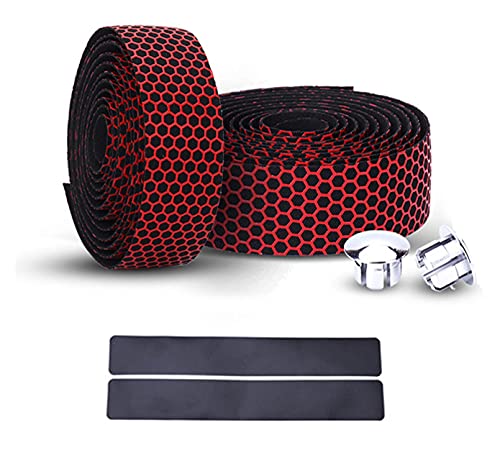
There are several materials used in handlebar tape, each offering unique benefits. Cork tape is popular for its natural feel and good vibration dampening, making it a favourite among long-distance riders. Foam tape is lightweight and often softer, offering a cushioned grip ideal for casual cyclists. Rubber tape provides excellent durability and grip, making it suited for rougher rides. Choosing the right material depends on your riding style and comfort preference.
Thickness and Padding Considerations
Handlebar tape comes in various thicknesses, impacting comfort and control. Thicker tape generally provides more cushioning, which can be advantageous for riders prone to hand fatigue. Conversely, thinner tape offers better bar feel and control, beneficial for those who prefer a more direct connection with their bike. Think about your riding habits and comfort needs to select the appropriate thickness.
How to Choose Handlebar Tape: Key Features to Consider
Grip and Texture
When selecting handlebar tape, grip is paramount. Look for materials that offer a textured surface to enhance traction. Some tapes come with added features like silicone backing for improved adhesion and reduced slippage. Testing the grip of a couple of options – if possible – before making a decision can help ensure you find the best fit for your handling style.
Weather Resistance
If you ride in various weather conditions, consider how resistant the tape is to moisture and wear. Some handlebar tapes are treated to repel water and resist fading from UV rays, providing longevity to your investment. Choosing weather-resistant tape can maintain performance throughout the seasons, ensuring you don’t compromise on grip or comfort due to the elements.
Installation Guide: Quick and Easy Steps to Apply Your Handlebar Tape
Preparing Your Handlebars
Before applying your new handlebar tape, clean the handlebars thoroughly to remove any old adhesive or dirt. This ensures that the tape adheres well and lasts longer. Gather your tools, typically just scissors and electrical tape for securing the ends.
Wrapping Techniques
Start at the end of the handlebars, leaving about an inch of tape to cover the bar end later. Wrap the tape around the bar at a slight angle, overlapping each turn by about half the width of the tape. Continue this process all the way to the stem. For the drops, consider whether you want to wrap from the bottom upwards or top downwards – whichever method provides the best feel for you.
Finishing Touches
Once you’ve reached the desired spot on the handlebars, cut off any excess tape, leaving enough to fold over the last wrapped section. Secure the end with a piece of electrical tape, and fit the bar plugs to complete the installation. Taking the time to carefully wrap your tape can greatly enhance your riding comfort.
Maintenance Tips: Keeping Your Handlebar Tape in Top Shape
Regular Cleaning
To maintain the look and feel of your handlebar tape, regular cleaning is essential. Wipe down the tape with a damp cloth after each ride, especially if you’ve been in muddy or rainy conditions. Avoid harsh chemicals that could wear down the materials over time. For sticky residue, a gentle soap solution will typically suffice.
Inspect for Wear and Tear
Periodically check your handlebar tape for signs of wear, such as fraying or loss of grip. Catching these issues early can help prolong the life of the tape. If you notice considerable damage, it may be time for a replacement. Keeping an eye on your tape ensures you’re always ready for your next ride.