


Introduction to A3 Laminators: What We Need to Know
Understanding A3 Laminators
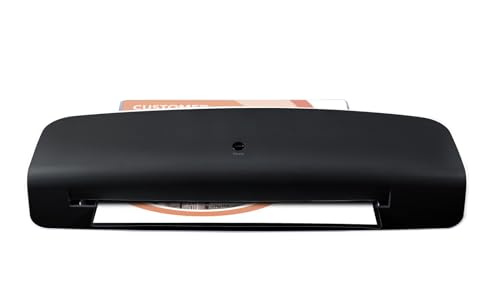
A3 laminators are specialised machines designed to coat documents up to A3 size with a clear plastic film, providing protection against wear and tear. This is particularly beneficial for items like educational materials, menus, or artwork that need to withstand frequent handling. When we laminate, we not only enhance the appearance of our documents but also ensure their longevity against spills, dirt, and fading.
Why Choose A3 Size?
Opting for an A3 laminator means we can work with larger documents, which is ideal for businesses or schools that produce posters, educational resources, or presentation materials. A3 size is versatile, allowing us to laminate whole sheets or create multiple smaller items from one larger sheet. This capability supports creativity and practicality in various projects.
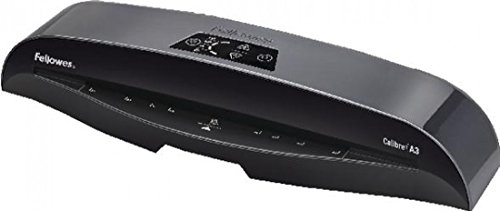
Key Features to Consider When Choosing an A3 Laminator
Lamination Speed and Warm-Up Time
When selecting an A3 laminator, speed is an essential factor. A rapid warm-up time means we can start laminating almost immediately, which is great for busy environments. Look for models that offer fast lamination speed measured in millimetres per minute, as this will determine how many documents we can process in a given time frame.
Thickness of Laminating Pouches
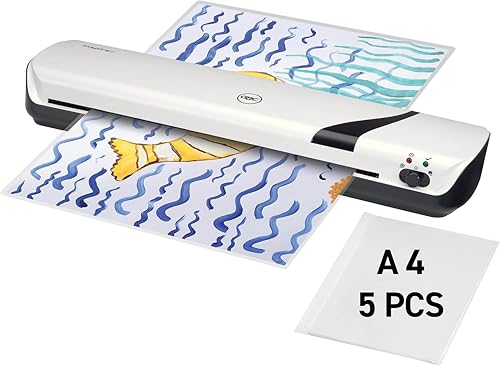
The thickness of the laminating pouches we can use is another crucial consideration. Pouches generally range from 75 to 250 microns in thickness. For standard documents, 100 to 125 microns usually suffice, while thicker pouches provide extra rigidity for items that will be handled often. Being aware of the suitable thickness can greatly impact the choice we make and the result we achieve.
Heat vs. Cold Laminators
Deciding between heat and cold laminators is essential as each serves different purposes. Heat laminators use heated rollers to seal the pouch, which is ideal for most laminating needs. Cold laminators, on the other hand, are perfect for heat-sensitive materials such as old photographs or documents that might warp under heat. We need to assess what types of documents we will primarily be laminating.
User-Friendly Controls and Features
Ease of use can significantly affect our laminating experience. Look for laminators with clear, intuitive controls, reverse functions in case of jams, and adjustable temperature settings for different pouch thicknesses. These features will enhance our efficiency and ensure smoother operation while using the device.
How to Use a Laminator: A Step-by-Step Guide
Preparing the Document for Laminating
Before we start, it’s essential that our documents are clean and free from dust or debris, as this can result in a less-than-perfect finish. Trim any edges or corners that might prevent proper sealing. Once our documents are ready, place them inside the laminating pouch, ensuring there is sufficient border around the edges for effective sealing.
Setting Up the Laminator
Next, we’ll power on the laminator and set the temperature according to the thickness of the pouch we’re using. It’s advisable to allow the laminator to warm up for the time specified by the manufacturer. This ensures that the rollers are at the right temperature for the lamination process.
Laminating the Document
Once the machine is ready, we can carefully insert the sealed edge of the pouch into the laminator first. This helps prevent jams and ensures smooth entry. The machine will gradually pull the document through, applying heat and pressure to seal the pouch around our document.
Finishing Touches
After the laminating process is complete, let the laminated document cool momentarily before handling it. If using a heat laminator, it’s crucial to allow it to cool to the touch to avoid burns. Inspect the finished product to ensure there are no bubbles or imperfections. If everything looks good, we can then cut the edges to our desired size, taking care to leave a small border for ongoing protection.
Maintaining Your A3 Laminator for Longevity
Regular Cleaning and Care
To keep our A3 laminator working efficiently, regular cleaning is essential. After each use, we should wipe down the exterior with a soft cloth. Additionally, check the rollers for any adhesive residue or debris and clean them gently as per the manufacturer’s guidelines. This practice prevents jams and ensures optimal performance.
Storage Considerations
When not in use, we should store our laminator in a safe place, away from moisture and direct sunlight. Ensuring it’s covered helps protect it from dust and environmental factors that could affect its performance. Proper storage will extend the lifespan of our machine significantly.
Top A3 Laminators on the Market: Our Recommendations
Choosing Reliable Models
When looking for an A3 laminator, we recommend considering options that offer a good balance of speed, durability, and ease of use. Brands known for their quality laminators typically include top selections that provide excellent performance in both home and office settings. Look for models that fit the specific needs of our projects, whether that’s for regular usage in a busy classroom or for crafting at home.
Features to Look for in Recommended Models
We find that the best models often feature variable temperature settings, robust build quality, and a commendable user rating. Models with a range of compatible laminated pouch thickness can expand our laminating options. User feedback can also guide us to select models that confirm reliability and offer helpful features like jam release functions.