


Understanding Self-Tanner: How It Works and Why You Need It
What is Self-Tanner?
Self-tanner is a product designed to deliver a sun-kissed glow without the harmful effects of UV rays. At its core, self-tanner contains an active ingredient called dihydroxyacetone (DHA), which interacts with the outer layer of the skin to create a temporary tan. As we apply the self-tanner, the DHA reacts with the amino acids in our skin, leading to a bronzed appearance that typically lasts for several days.
The Benefits of Using Self-Tanner
The appeal of self-tanner lies in its convenience and safety. Unlike sunbathing or tanning beds, self-tanner allows for a tan to be achieved at home without the risk of sun exposure or skin damage. Many of us desire the glow of a summer tan year-round, and self-tanner offers a quick and effective solution. Additionally, it comes in various forms, such as lotions, sprays, and mousses, catering to different preferences.
Choosing the Right Self-Tanner for Your Skin Type: A Simple Guide
Identifying Your Skin Type
Before selecting a self-tanner, it’s essential to understand your skin type. For instance, those with dry skin may benefit from a moisturising self-tanner, which can help hydrate while providing colour. On the other hand, if you have oily skin, a lightweight, oil-free formula may work best to avoid excess shine.
Finding the Perfect Shade
It’s crucial to choose a self-tanner shade that complements your natural skin tone. If you’re fair-skinned, we recommend starting with a lighter shade to avoid a stark contrast that can look unnatural. Medium and dark skin tones have more flexibility and can opt for deeper shades, but a gradual tanner may still offer a more subtle build-up.
Application Tips: Achieving an Even, Natural-Looking Tan at Home
Preparation is Key
To ensure an even application, we should start with properly preparing our skin. Exfoliate thoroughly before applying self-tanner, focusing on areas like elbows, knees, and ankles, which tend to trap more product. A smooth canvas will help achieve that natural look we desire.
Application Technique
Using a tanning mitt can significantly improve application. This not only protects our hands from staining but also allows for smoother, more even distribution of the product. When applying self-tanner, we recommend using long, sweeping motions to cover larger areas and circular motions on smaller sections for thorough coverage. For areas around the face, use a lightweight touch to blend in the product seamlessly.
Maintenance: Keeping Your Self-Tanner Looking Fresh and Flawless
Extend the Lifespan of Your Tan
After successfully applying self-tanner, maintaining that fresh look is vital. We should keep our skin moisturised regularly with a hydrating lotion, which helps prolong the life of the tan. Additionally, avoid hot showers or baths, as the heat can speed up the fading process.
Tips for Touching Up
If you notice any patches or fading spots, a gentle exfoliating scrub can help smooth the surface. For those areas that need a touch-up, we can apply a small amount of self-tanner to blend in with the surrounding skin for a seamless appearance, allowing us to achieve that fresh and flawless look consistently.
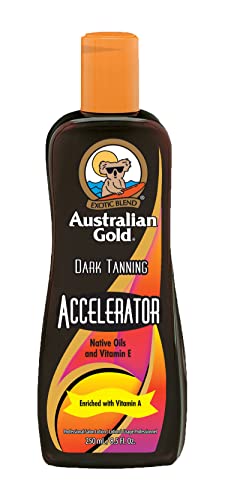
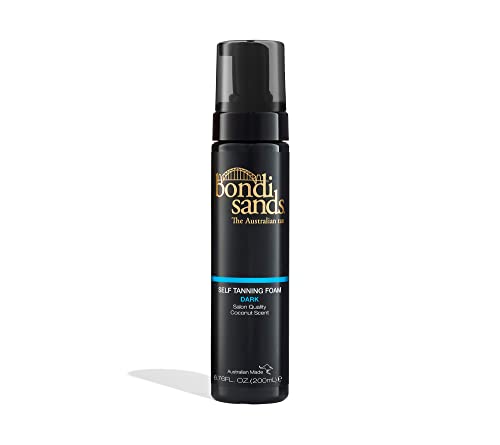
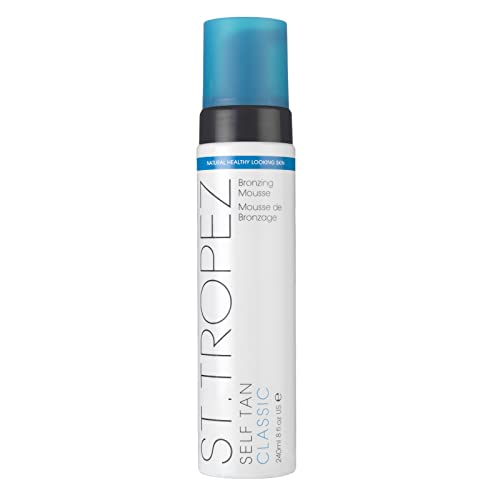
Top Self-Tanner Picks: Our Recommendations for Every Budget
Affordable Options
For those on a budget, there are highly effective self-tanners available that won’t break the bank. Affordable formulas often include gradual tanners or daily moisturisers infused with tints that allow for buildable colour. These products provide a subtle tan over several applications, perfect for beginners or those looking for an understated glow.
High-End Choices
If we’re willing to invest a bit more, several premium self-tanners offer advanced formulations, including nourishing ingredients that hydrate and address skin concerns. These higher-end products often result in deeper, more natural-looking tans and are designed for easier application, making them an appealing choice for seasoned users looking for the best results.