


Understanding Tyre Levers: What They Are and How They Work
The Basics of Tyre Levers
Tyre levers are handy tools designed to help us remove and install tyres onto rims, typically used for bicycles. Imagine you’re out on a ride, and you suddenly notice a flat tyre. Instead of struggling with your hands, a tyre lever allows you to easily detach the tyre from the rim. This simple tool works by providing leverage, allowing us to pry the tyre away from the rim with minimal effort. Tyre levers come in various materials and shapes, but their primary mission remains the same—making our lives easier when it comes to changing or repairing tyres.
How Tyre Levers Function
When we use a tyre lever, we first insert one end under the edge of the tyre. As we push down on the lever, it lifts the tyre bead off the rim, making it possible to remove the tyre entirely. This action is straightforward, but requires appropriate technique to avoid damaging the tyre or the rim. For those who frequently maintain their bikes, understanding how tyre levers work enhances our efficiency during repairs.
Key Features to Look For in a Tyre Lever
Material Matters
When choosing a tyre lever, the material plays a crucial role. Most levers are made from plastic, metal, or a combination of both. Plastic levers are lightweight and ideal for casual cyclists, while metal levers offer more durability, making them suitable for those who anticipate tougher tasks. Choosing the right material depends on our personal needs; a lightweight option is perfect for on-the-go repairs, but a stronger metal lever might be necessary for regular replacements.
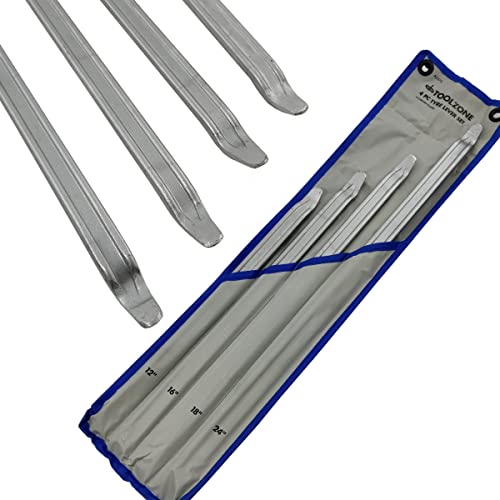
Size and Shape
The size and shape of tyre levers can make a significant difference in their usability. Levers come in various lengths, and longer levers typically allow for more leverage, making it easier to remove stubborn tyres. Ergonomically designed levers with comfortable grips can enhance our experience, especially if we’re working on multiple tyres. Assessing how a lever fits in our hands can help us find the most comfortable option.
Teeth and Hook Design
Look for tyre levers with a hooked end or serrated teeth. This design aspect helps secure the lever in place during use, preventing slippage—a common issue that can lead to frustration and potential damage. Some levers also feature a second hook for securing the lever to the rim while working on the other side, making the process even smoother.
Top Tyre Lever Recommendations for Every Budget
Budget-Friendly Options
For those on a budget, we recommend models such as the Continental Tyre Lever and the Crank Brothers Speedier Lever. These options provide solid performance without breaking the bank. They are lightweight, easy to carry, and effective for basic tyre changes.
Mid-Range Choices
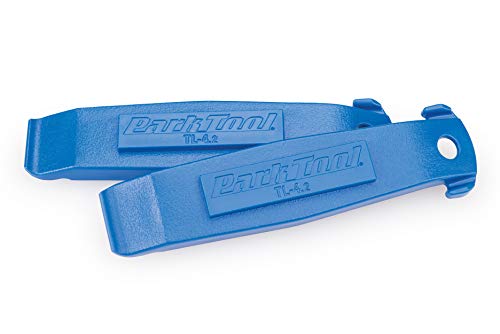
If you’re willing to invest a bit more, consider the Park Tool TL-1.2. It strikes a good balance between durability and price, ensuring reliable results on your bike throughout multiple uses. Another excellent choice is the Tri-Flow Lever, known for its ergonomic design and ease of use.
High-End Recommendations
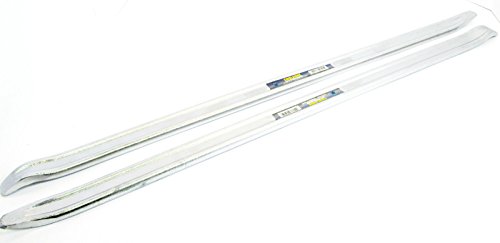
For those who frequently change tyres or want a durable tool, the Pedro’s Tire Lever Set is an outstanding choice. Crafted from high-quality materials, this set ensures longevity and strength. The Lezyne Alloy Tyre Levers are another premium option, combining aesthetics with functionality, offering a stylish yet effective solution for serious cyclists.
How to Use a Tyre Lever Like a Pro: A Step-by-Step Guide
Preparation Is Key
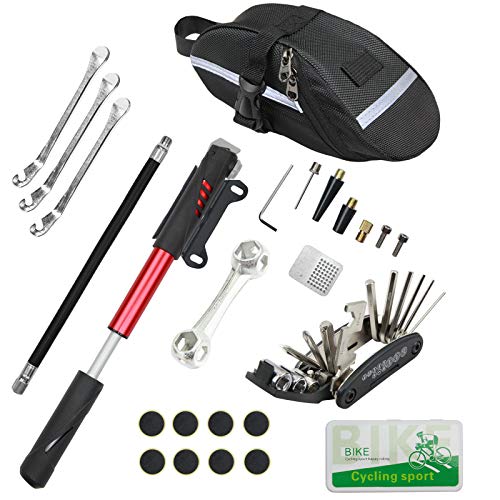
Ensure you have a clean working space and all your tools ready, including your tyre levers, a pump, and possibly some soapy water to ease the tyre removal process. It’s helpful to inflate the tyre slightly to make the beads more pliable. This simple step can make a significant difference.
Removing the Tyre
Start by inserting one lever at a point opposite the valve stem, making sure it’s placed beneath the tyre bead. Push down on the lever to lift the tyre away from the rim. Hook the end of the lever under the rim and push down further to create enough space for the second lever. Insert the second lever at a distance of about 5-10 cm from the first, and repeat the prying action until the tyre is free from the rim.
Installing the Tyre
To put a new or repaired tyre onto the rim, start with one side of the tyre bead in place. Use your hands to push it down while you work the lever around the rim. When you reach the end, you may need to use the lever to help guide the bead fully into the rim without pinching the inner tube. Always double-check the installation before inflating the tyre for a safer ride.
Maintaining Your Tyre Levers for Longevity
Regular Cleaning
After each use, it’s essential to clean our tyre levers to prevent debris build-up that can affect their function. A simple rinse with warm water and mild soap is usually sufficient. Avoid abrasive materials that could scratch the surface.
Inspection for Wear and Tear
Periodically, we should examine our tyre levers for signs of wear, such as cracks or bends. A damaged lever can compromise our safety during tyre changes. If any issues are found, it may be time to replace the levers to ensure reliable performance.
Storage Tips
Storing our tyre levers properly extends their lifespan. Keep them in a dry place, away from direct sunlight, which could degrade plastic levers over time. A small pouch in our bike bag or a dedicated toolbox can help keep them secure and easily accessible.