


What is a Managed Switch and Why Do We Need One?
Understanding Managed Switches
A managed switch is an advanced networking device that enables users to control the network traffic more effectively than with an unmanaged switch. In simple terms, it offers more features and flexibility. Imagine a busy office with numerous computers, printers, and servers all needing to communicate efficiently. A managed switch helps organise that traffic, ensuring data gets where it needs to go without unnecessary delays.
Benefits of Using Managed Switches
The benefits of a managed switch extend beyond just traffic control; they include features like network monitoring, VLAN support, and security controls. For instance, if we have a network split by departments, we can create virtual LANs (VLANs) that allow different teams to communicate securely without interrupting each other. This control leads to a more efficient and secure network environment.
Key Features to Consider When Choosing a Managed Switch
Port Count and Types
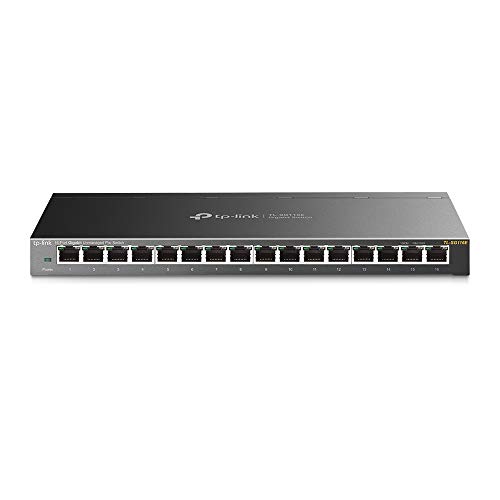
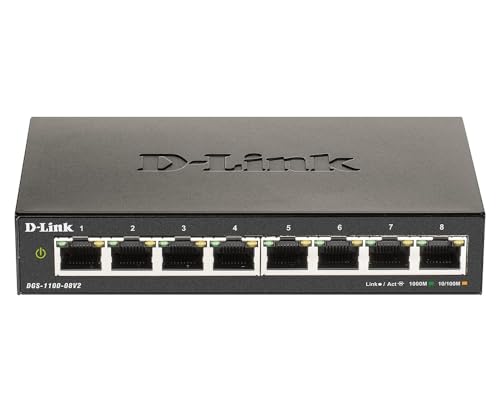
When selecting a managed switch, consider how many devices you need to connect. It’s similar to choosing a car—if you have a large family, you’ll want a vehicle with enough seats. Managed switches come with various port counts, typically ranging from 5 to 48 ports. We suggest assessing your current needs and potential future expansions.
Layer 2 vs. Layer 3 functionality
Another key feature is whether the switch operates at Layer 2 or Layer 3 of the OSI model. Layer 2 switches manage traffic within the same network, while Layer 3 switches can handle traffic between different networks. If your network design requires routing capabilities, opting for a Layer 3 switch will provide additional advantages.
Power over Ethernet (PoE) Support
Power over Ethernet (PoE) allows you to power devices such as cameras and phones through the Ethernet cable itself. Think of it as a single cord that powers both your device and transfers data—this reduces cable clutter and simplifies installation. We recommend checking if your devices require PoE, as this feature can save time and resources.
User-Friendly Interface
A user-friendly interface is crucial when managing your switch settings. Complex configurations can lead to frustration and errors. Look for switches that offer web interfaces, command line tools, or even mobile apps that simplify the setup and monitoring process.
Comparing Different Types of Managed Switches
Smart Managed Switches vs. Fully Managed Switches
There are two main types of managed switches to consider—smart managed and fully managed. Smart managed switches offer basic management features that suffice for smaller networks. Conversely, fully managed switches provide comprehensive control over every aspect of the network, ideal for larger enterprises or complex setups. Think about your network’s scale and complexity when making this choice.
Unmanaged Switches as a Benchmark
Understanding unmanaged switches will also help frame our comparison. An unmanaged switch is straightforward and requires no configuration; it’s perfect for simple setups. However, they lack the customisation and monitoring features found in managed switches. If you want to adapt to growing demands and improve security, a managed switch is the clear choice.
Setting Up Your Managed Switch: A Step-by-Step Guide
Step 1: Connect Your Devices
The initial step in setting up a managed switch is to connect all the devices that need to be included in your network. To do this, use Ethernet cables to link your computers, printers, and servers to the switch. This process is akin to connecting various appliances in your home to a power strip.
Step 2: Power On the Switch
Once your devices are connected, it’s time to power on the switch. This often involves simply plugging it into an outlet. Think of it like turning on your laptop; until it powers up, you can’t access any settings or features.
Step 3: Access the Configuration Interface
Now, we need to access the configuration interface to set up your managed switch. Connect a computer to the switch and enter the default IP address in your web browser. This action allows you to configure settings, just like personalising a new smartphone after purchase.
Step 4: Customise Your Settings
At this stage, it’s time to optimise your switch settings according to your network needs. This may include establishing VLANs, configuring port settings, and setting up security protocols. It’s like arranging a workspace to increase efficiency—setting everything up in a way that best serves your goals.
Maximising Performance with Your Managed Switch
Regular Monitoring and Maintenance
To ensure your managed switch delivers optimal performance, regular monitoring is essential. Tools within the switch allow you to track traffic and detect any anomalies, much like keeping an eye on a car’s dashboard for warning signs. This proactive approach helps maintain network health.
Updating Firmware
Keeping your switch’s firmware up-to-date is crucial for security and functionality. Check periodically for updates as manufacturers often release improvements. Updating can be compared to installing the latest version of your favourite software to benefit from new features and fixes.
Implementing Quality of Service (QoS)
Quality of Service (QoS) settings help prioritise critical data traffic. For instance, video conference calls can be prioritised to ensure smooth performance during important meetings. Imagine prioritising urgent emails over social media notifications—a similar principle applies to network traffic.