


Understanding Hard Drive Docking Stations: What Are They and How Do They Work?
What Is a Hard Drive Docking Station?
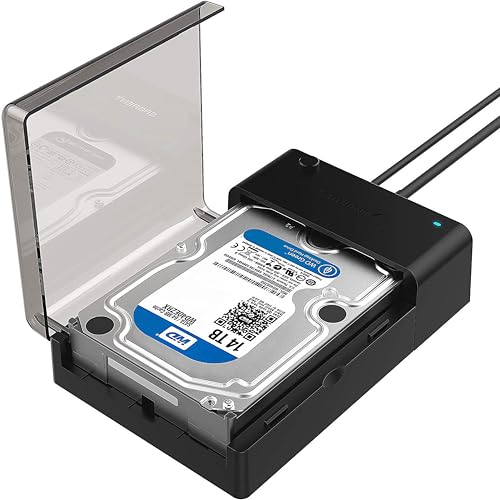
A hard drive docking station is a device that allows you to connect external hard drives, typically in a plug-and-play manner. Imagine you have an old hard drive lying around from a previous laptop or desktop computer. Instead of tossing it away, you can use a docking station to access the data stored on it. With this setup, you can easily transfer files, back up data, or upgrade storage without needing to open your computer.
How Does It Work?
Using a hard drive docking station is straightforward. You simply insert the hard drive into the dock, connect the station to your computer via USB or another interface, and your computer will recognise the new drive automatically. This means you can access your files as if they were on your computer’s primary hard drive. It’s an efficient way to expand storage and perform data transfers without complicated installations.
The Top Features to Look for in a Hard Drive Docking Station: Making Your Decision Easier
Compatibility
When choosing a hard drive docking station, compatibility is key. Ensure the dock supports the size and type of your hard drives, whether they are 2.5-inch or 3.5-inch and SATA or IDE. This will prevent any compatibility issues when trying to use your older drives.
Connective Options
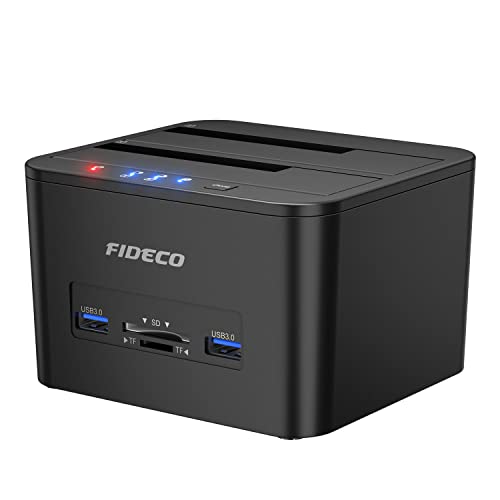
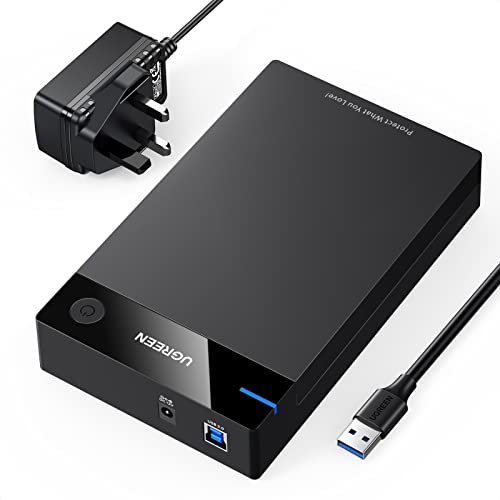
Look for docks that offer multiple connectivity options. Some docks come with USB 3.0, USB-C, and even eSATA ports. The faster the connection, the quicker the data transfer, so opting for USB 3.0 or USB-C is advisable for efficiency, especially when transferring large files.
Data Transfer Speed
Check the speed ratings of the docking station. A docking station that supports high-speed data transfer can significantly save time when moving large volumes of data. Look for specifications providing speeds of at least 5 Gbps for a smoother experience.
User-Friendly Design
A well-designed dock that makes it easy to insert and remove hard drives is important for convenience. Features such as LED indicators that show activity or power status can add to the user experience.
Comparing Different Types of Hard Drive Docking Stations: Which One Suits Your Needs?
Single vs. Dual Bay Stations
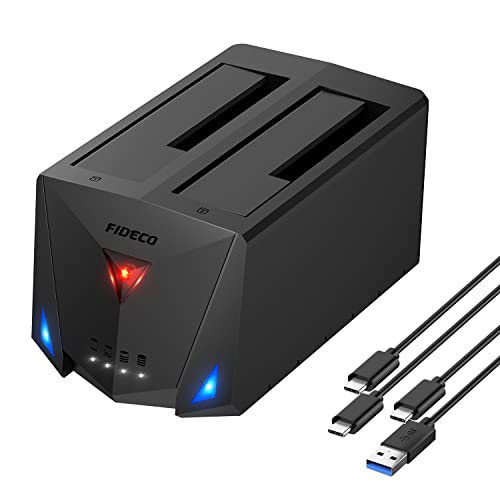
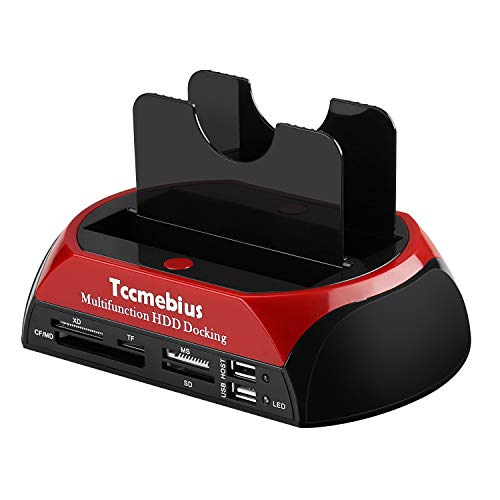
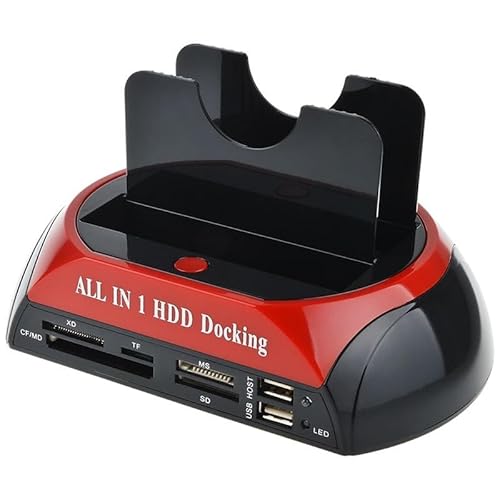
Single bay docking stations allow you to connect one hard drive at a time, making them ideal for minimal use or occasional data transfers. However, if you’re frequently switching between drives or need more space, a dual bay station would be more beneficial. These allow you to connect two drives simultaneously, increasing productivity when managing multiple backups or accessing files.
Portability
If you travel frequently, consider a portable docking station. These are typically smaller, lightweight, and easy to carry. They might have fewer features but are designed for convenience on the go. If you prefer a more stationary setup, a desktop docking station with more features and ports might be your best choice.
Built-in Functions
Some advanced docking stations come with additional features such as cloning functions, meaning you can duplicate data between drives without needing a computer. If you often back up data, this feature could save time and effort.
How to Set Up Your Hard Drive Docking Station: A Quick Start Guide
Unboxing and Initial Checks
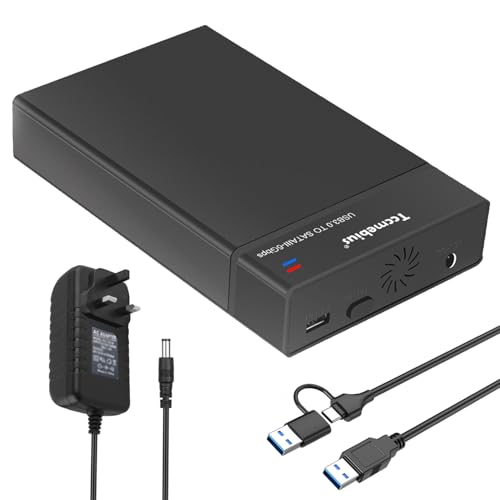
Upon receiving your docking station, unpack it carefully and check for all components. Ensure the power adapter and necessary cables are included. It’s also a good idea to read through the manual for specific instructions related to your model.
Installing the Hard Drive
To set up, simply insert the hard drive into the designated slot, ensuring it is securely seated. If there are locking mechanisms, engage them to hold the drive in place. Once secured, connect the docking station to your computer using the provided USB cable.
Powering Up and Recognising the Drive
Plug the power adapter into the docking station and turn it on if it has a power switch. Your computer should automatically detect the new drive within seconds. If you don’t see it on your desktop or file explorer, you may need to check the disk management settings to initialise it.
Maximising Your Data Management: Tips for Using Your Hard Drive Docking Station Effectively
Organising Your Files
To maximise the benefits of your docking station, develop a filing system on your hard drives. Keep similar files together and regularly update your backups. This makes retrieving important documents much quicker and easier.
Regular Backups
Regularly back up your data using the docking station. You can schedule automatic backups for added convenience, ensuring your important files are always safe and current without needing constant manual intervention.
Safely Ejecting Drives
Before removing a hard drive from the docking station, always use the ‘safely eject’ feature on your computer. This prevents data corruption and protects the integrity of your files, allowing you to use the drives without worry.